|
|
|||||||||||||||||||||||||||||||||||||||||||||||||||||||||||||||||||||||||||||||||||||||||||||||||||
 |
 |
 |
|||||||||||||||||||||||||||||||||||||||||||||||||||||||||||||||||||||||||||||||||||||||||||||||||
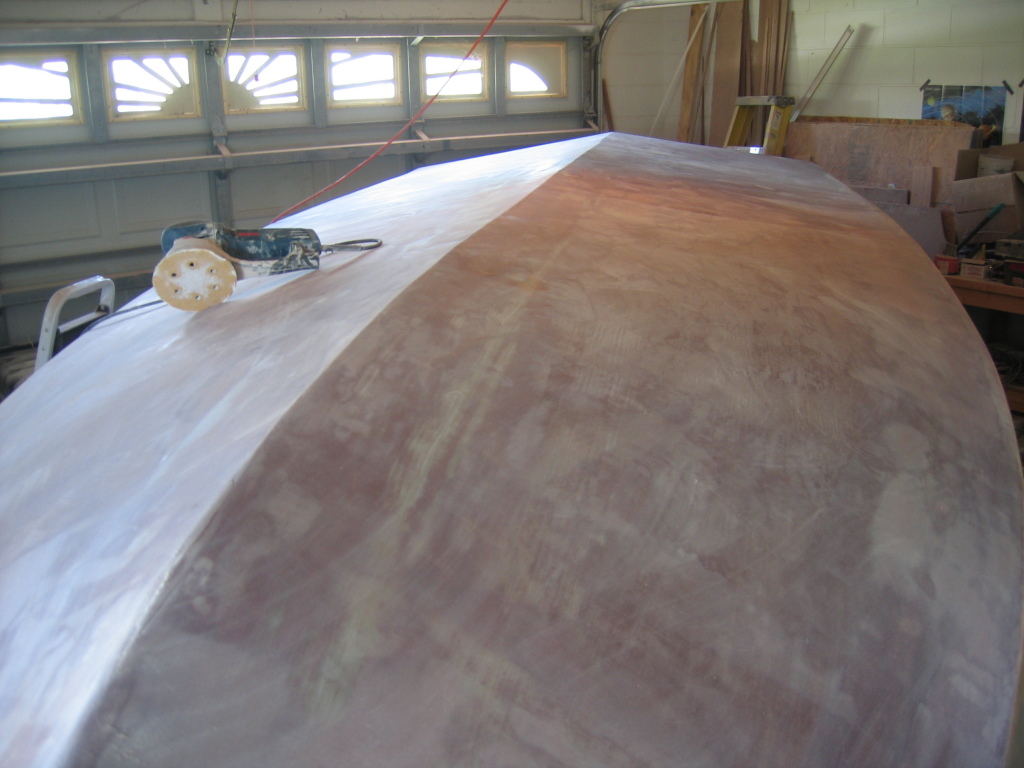
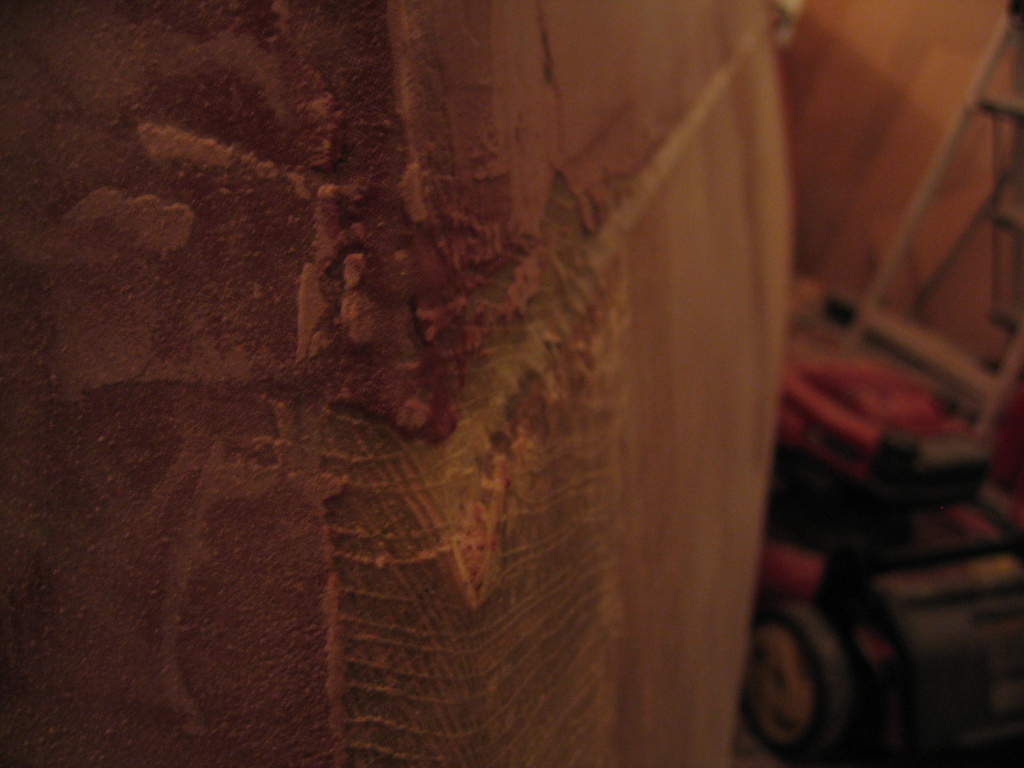
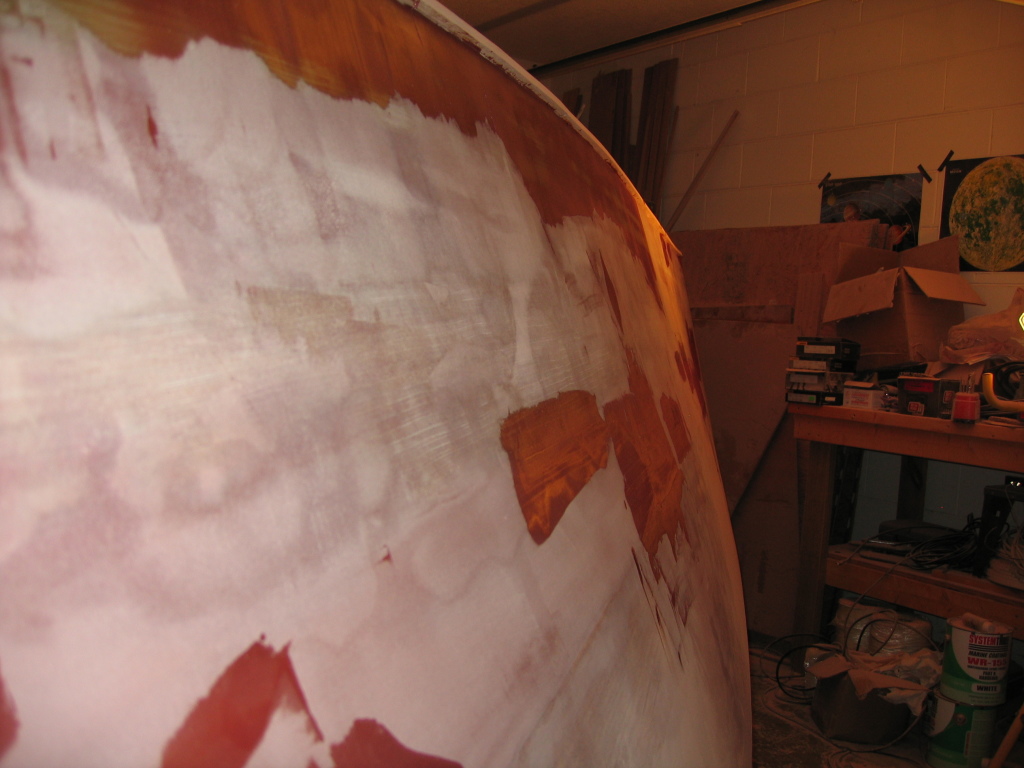
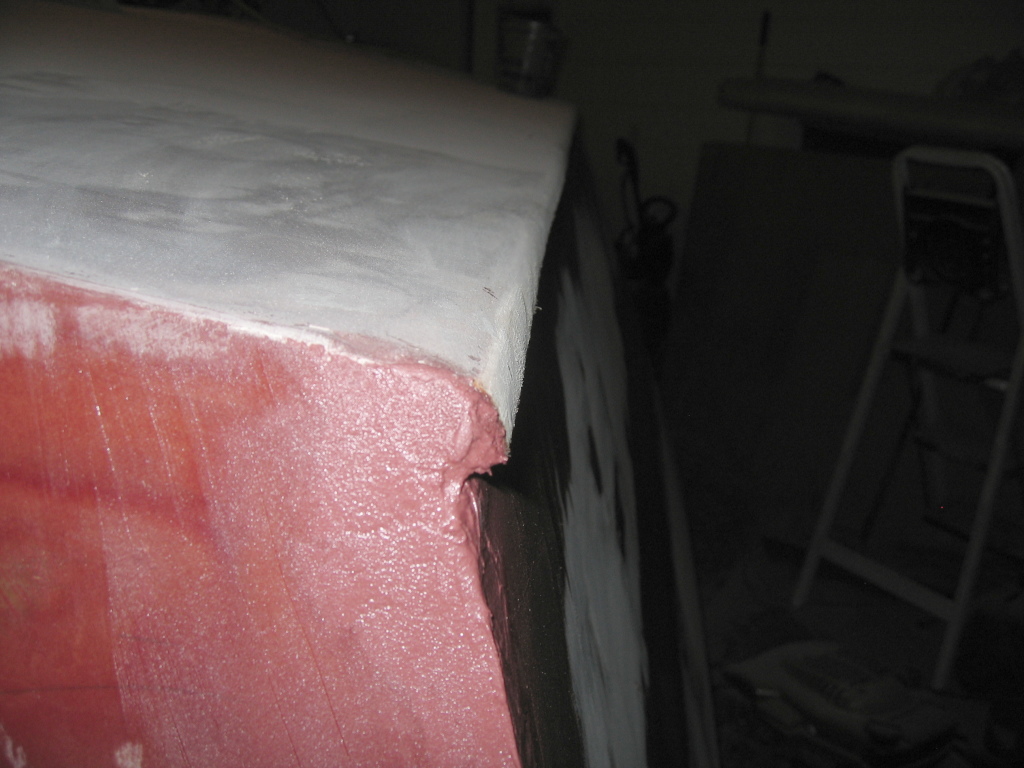
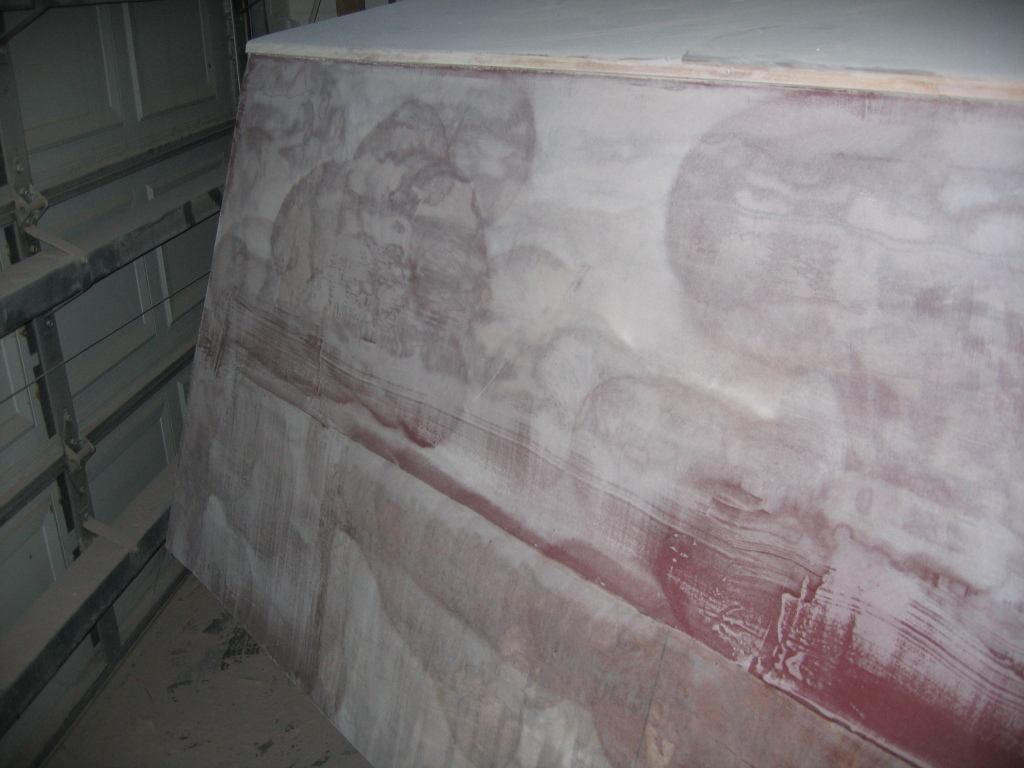
| August 22, 2005. This is the first update in several months. The temperature has been extremely hot this summer, my garage is no exception. I can't wait until the season changes so I can bear the working conditions. I have worked off-and-on during the summer, occassionally sanding or mixing up microballoons. I have made considerable progress since the last update, but the progress is not as obvious. | Here is a view showing the hull during the fairing. | I will have to carefully sand the edge of the bottom/transom, I spent time creating a perfect edge but it will be too sharp to use. | |||||||||||||||||||||||||||||||||||||||||||||||||||||||||||||||||||||||||||||||||||||||||||||||||
 |
 |
 |
|||||||||||||||||||||||||||||||||||||||||||||||||||||||||||||||||||||||||||||||||||||||||||||||||
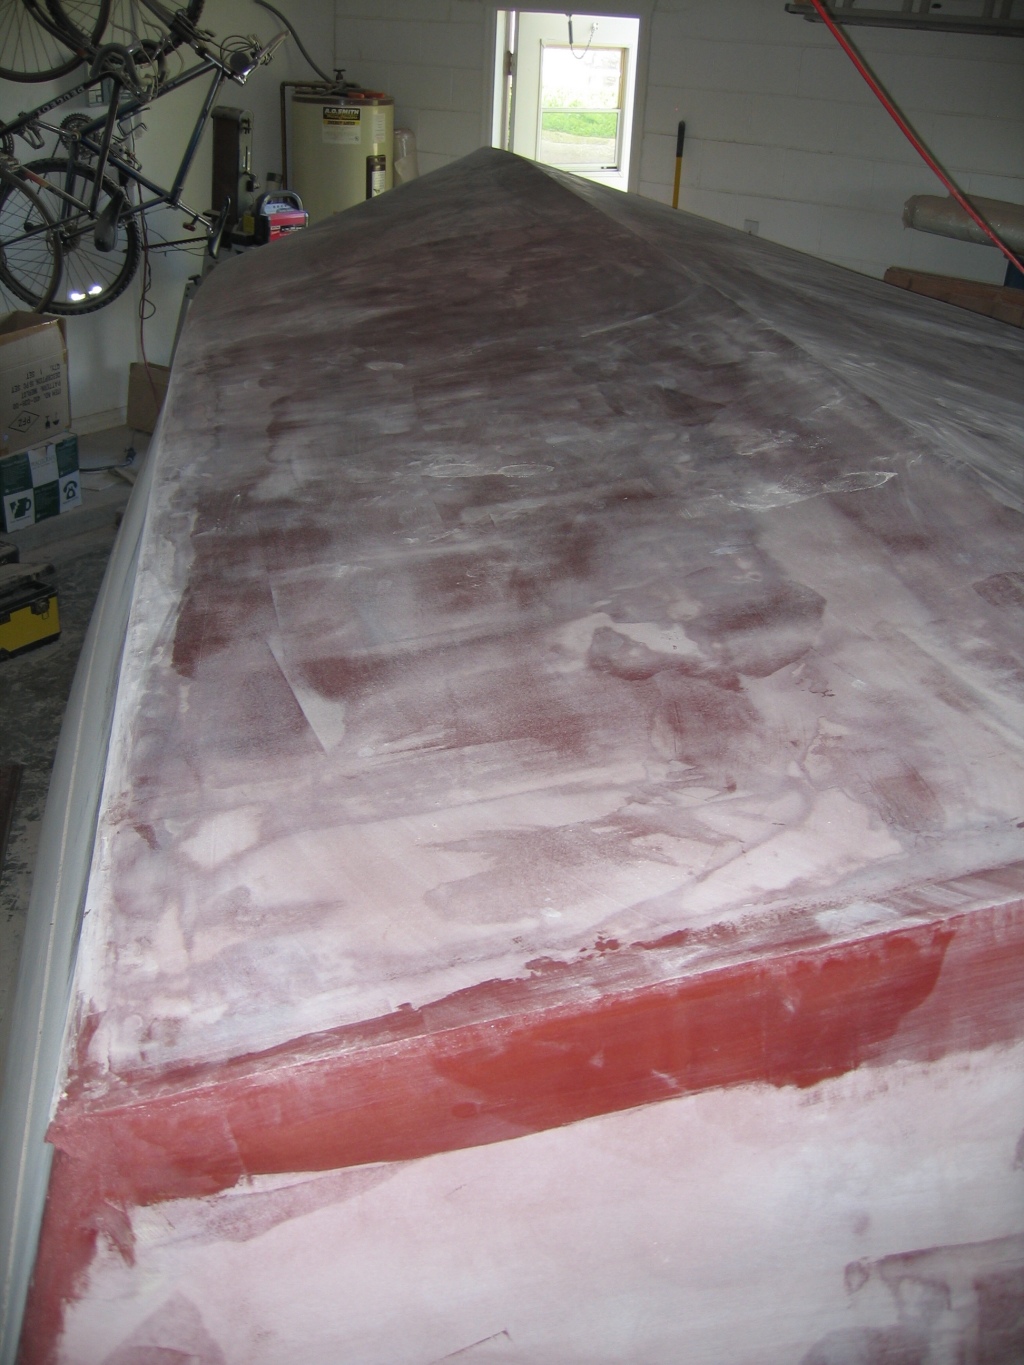
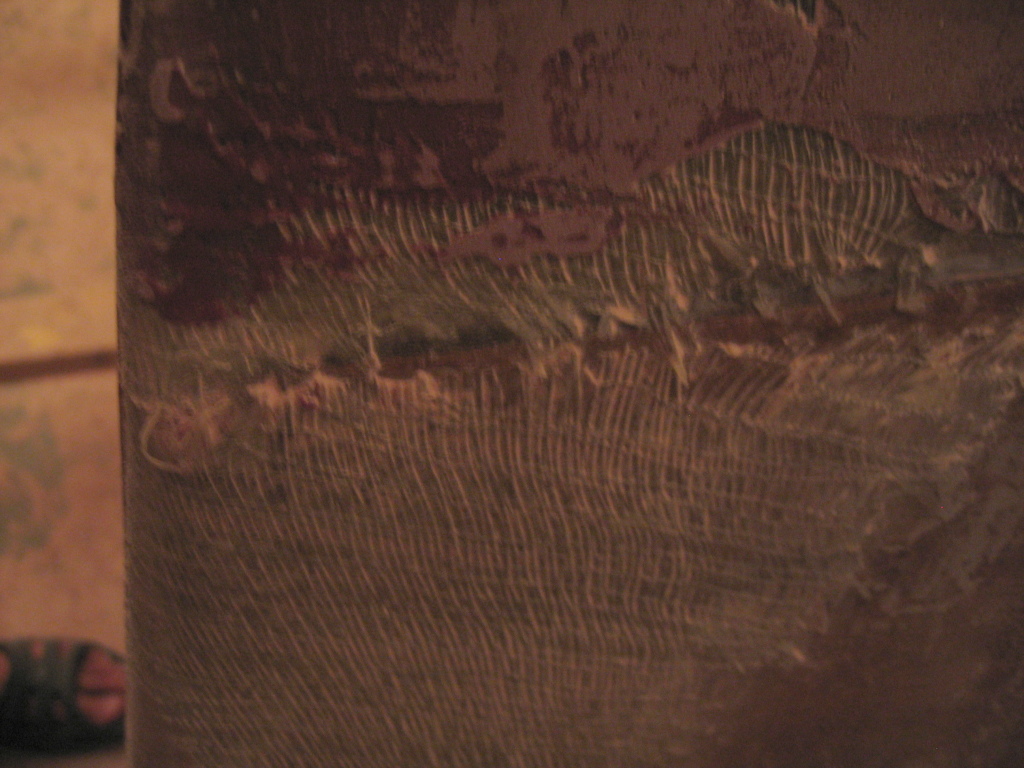
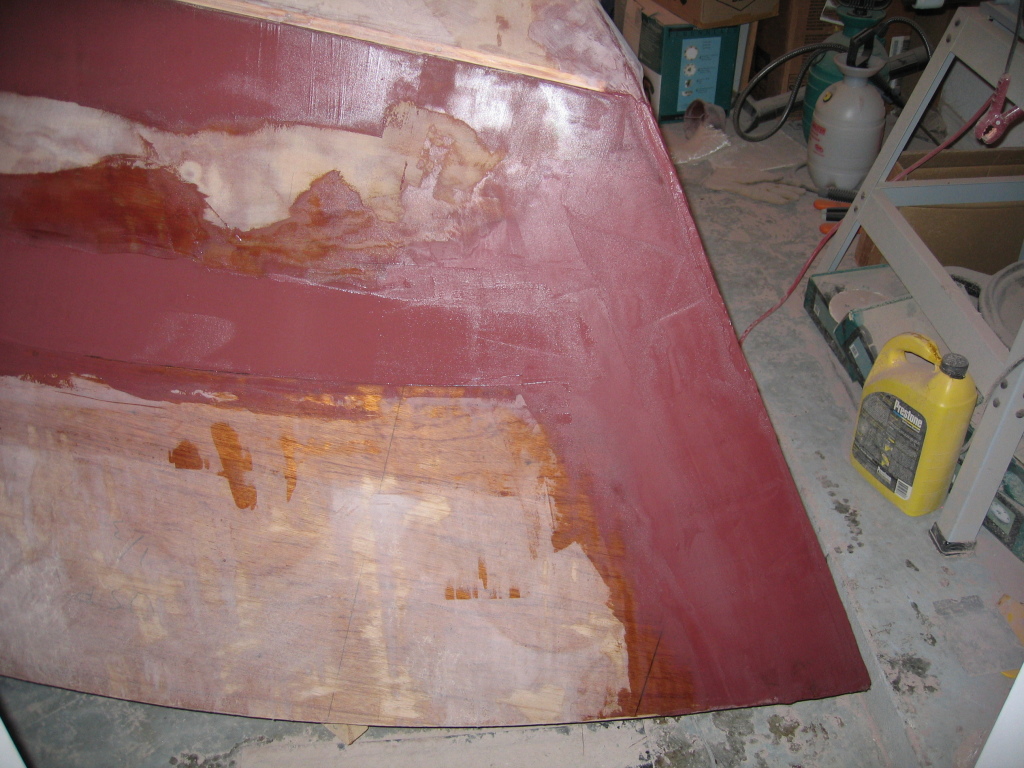
| In addition to fairing/building the edge at the transom I also spent a lot of time and effort on the keel edge. Like the transom, I will have to sand the edge off a little. | A view of the hull side showing the current state of sanding. | September 15, 2005. The weather has been especially cooperative lately and I've been able to put in some serious time working. I made a decison that will increase the fairing time somewhat significantly. Since this boat has overlapping side panels I have had to be careful to keep a clean edge at the overlap, as this is considered a style-line. | |||||||||||||||||||||||||||||||||||||||||||||||||||||||||||||||||||||||||||||||||||||||||||||||||
 |
 |
 |
|||||||||||||||||||||||||||||||||||||||||||||||||||||||||||||||||||||||||||||||||||||||||||||||||
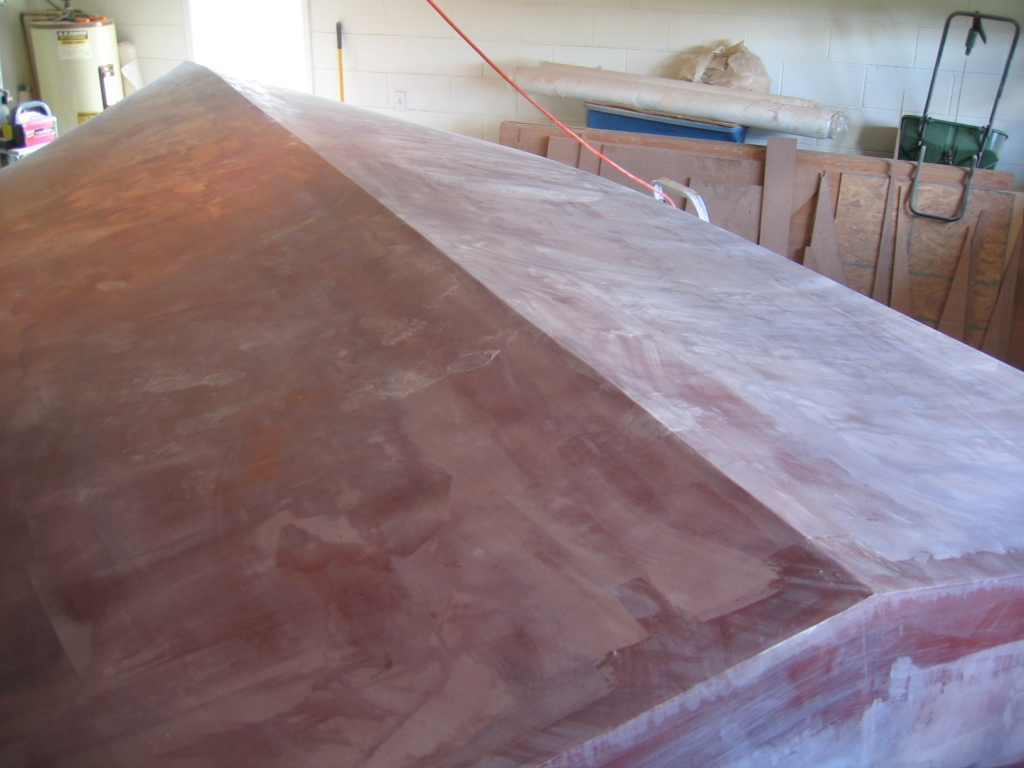
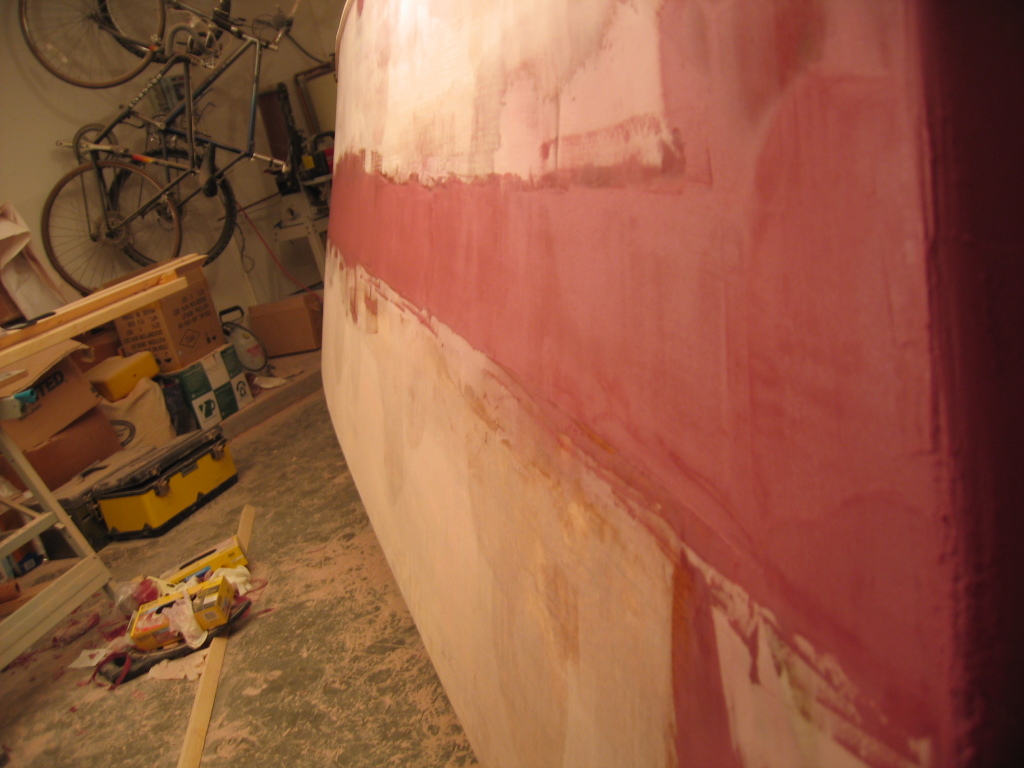
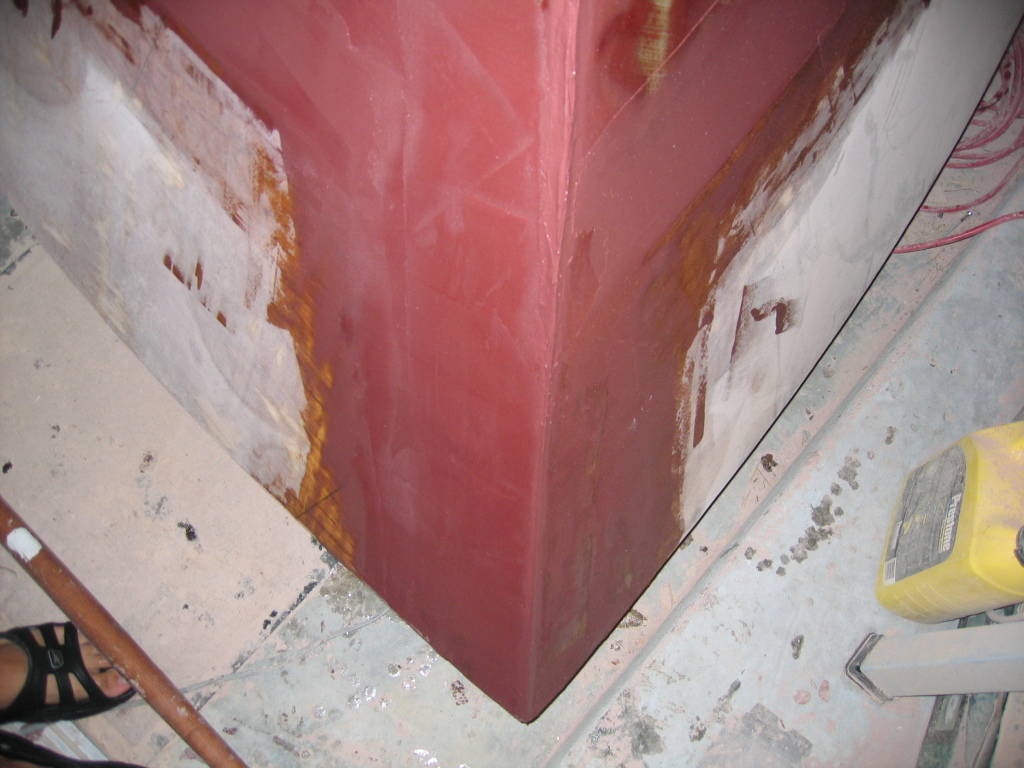
| This is easy in theory, but in practice, I ended up with some nasty fiberglass/epoxy buildup at the transom and at the bow (but not nearly as bad as the transom). I heard about other builders fairing out this edge, now I know why. In the end this will look very clean. | I spent all week applying layer after layer of fairing compound. This is after the 3rd application. Each night this week I have sanded and applied new layers. This is probably the final complete layer, only minor touchup work will be done from this point on. | Here is another view looking down the side showing the faired-out edge. I am pretty happy with the way it looks. | |||||||||||||||||||||||||||||||||||||||||||||||||||||||||||||||||||||||||||||||||||||||||||||||||
 |
 |
 |
|||||||||||||||||||||||||||||||||||||||||||||||||||||||||||||||||||||||||||||||||||||||||||||||||
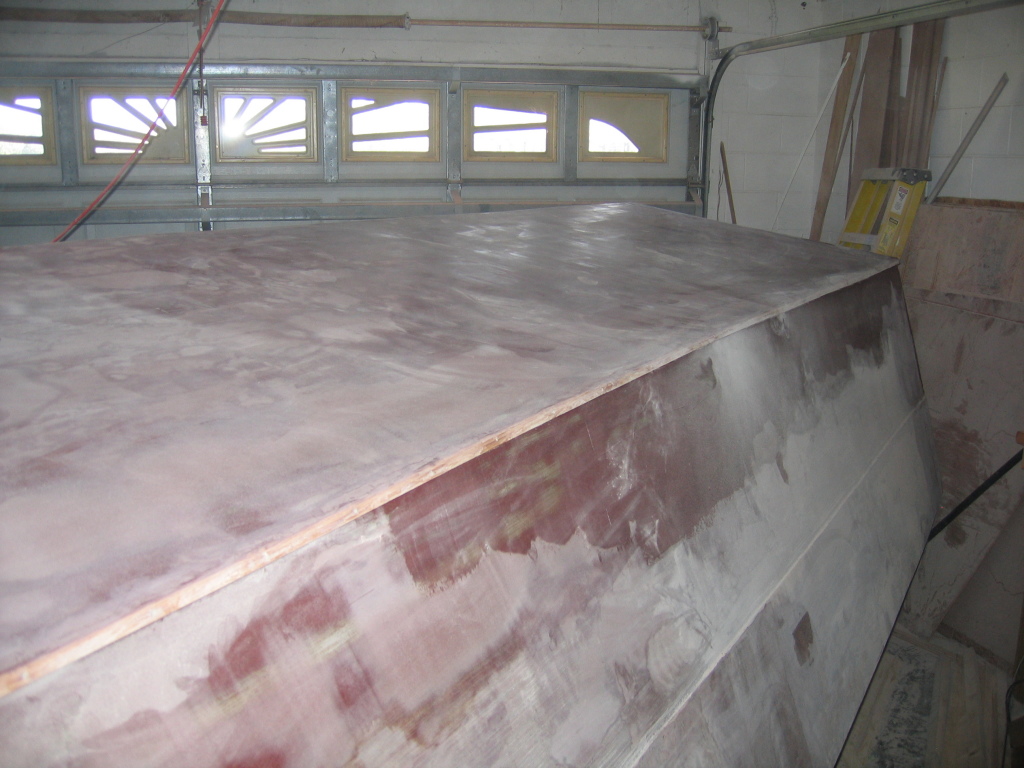
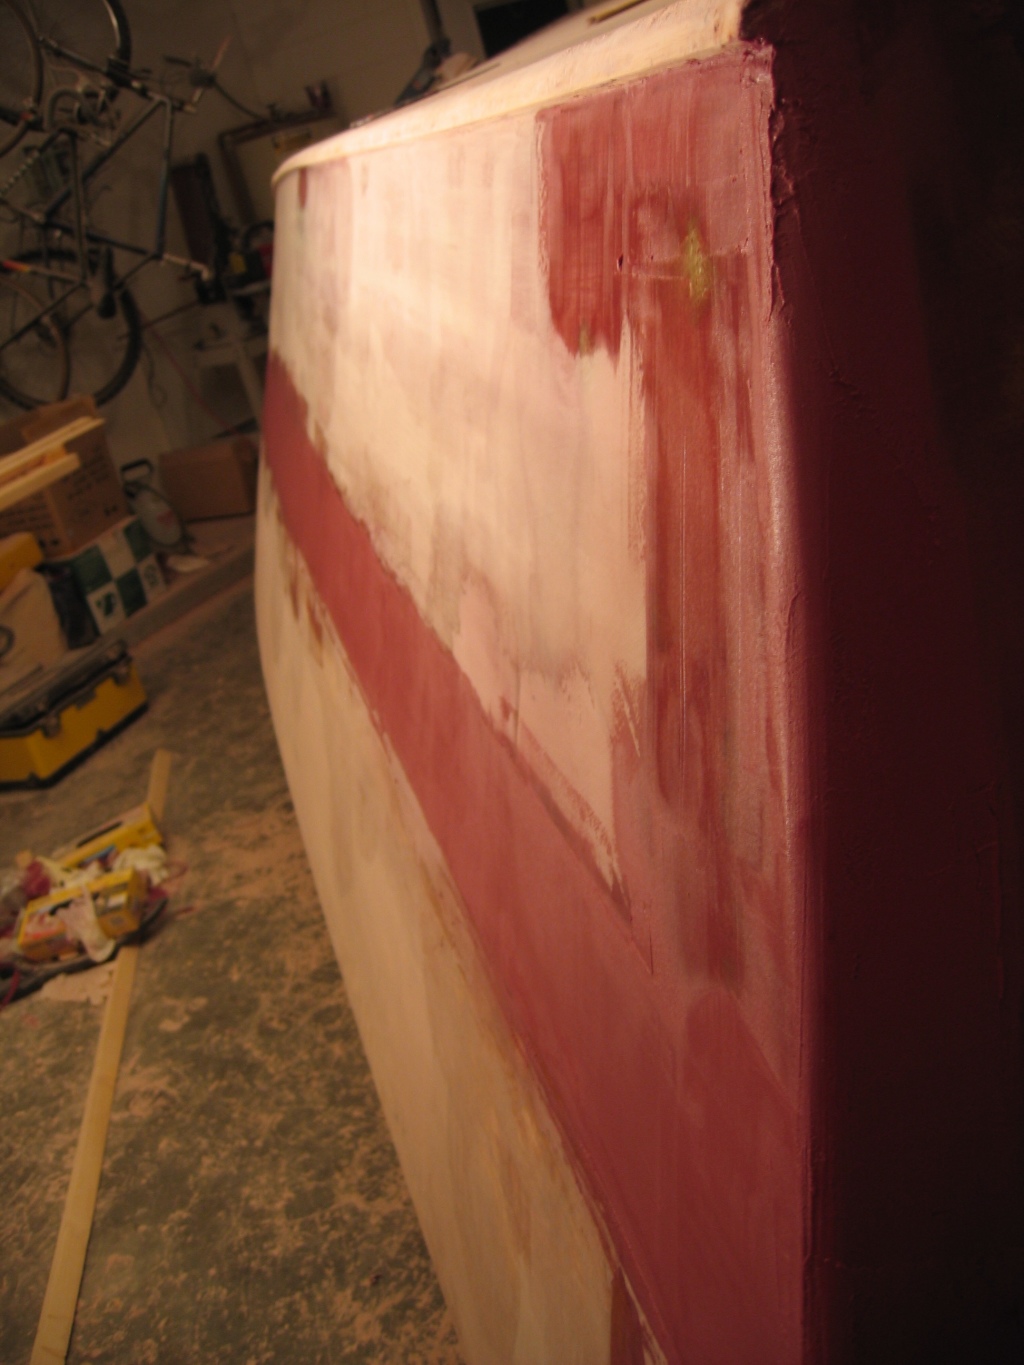
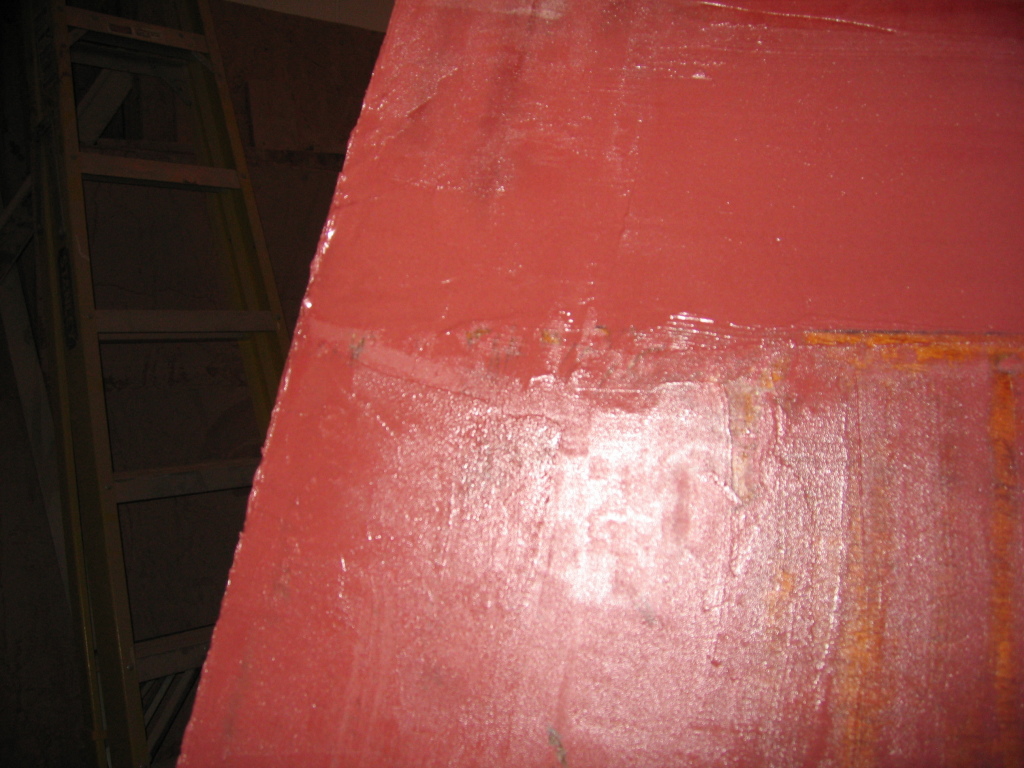
| September 18, 2005. I've sanded down the fairing compound over the overlap area and have started applying as needed. | Earlier in the week I fiberglassed the upper side panels at the bow (not shown) and filled the weave and faired it. Several rounds of fairing have took place before this photo. Here, the compound has just been applied for a 3rd time. | The bow is really starting to shape up, it won't be long now until it will look done. | |||||||||||||||||||||||||||||||||||||||||||||||||||||||||||||||||||||||||||||||||||||||||||||||||
 |
 |
 |
|||||||||||||||||||||||||||||||||||||||||||||||||||||||||||||||||||||||||||||||||||||||||||||||||
| The previous night I applied leftover fairing compound to the transom/port side, today I sanded it and applied a new layer. Compare this photo to this. | Another view of the port side fairing. | A view showing down the sprayrail edge with port side fairing in progress. | |||||||||||||||||||||||||||||||||||||||||||||||||||||||||||||||||||||||||||||||||||||||||||||||||
 |
 |
 |
|||||||||||||||||||||||||||||||||||||||||||||||||||||||||||||||||||||||||||||||||||||||||||||||||
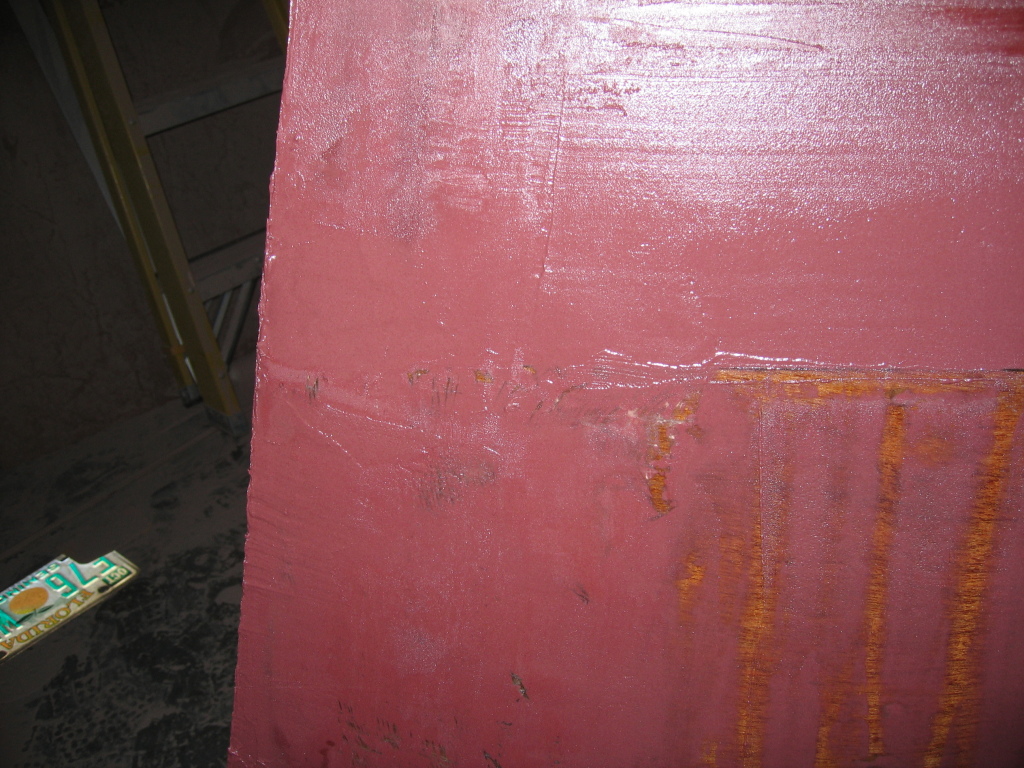
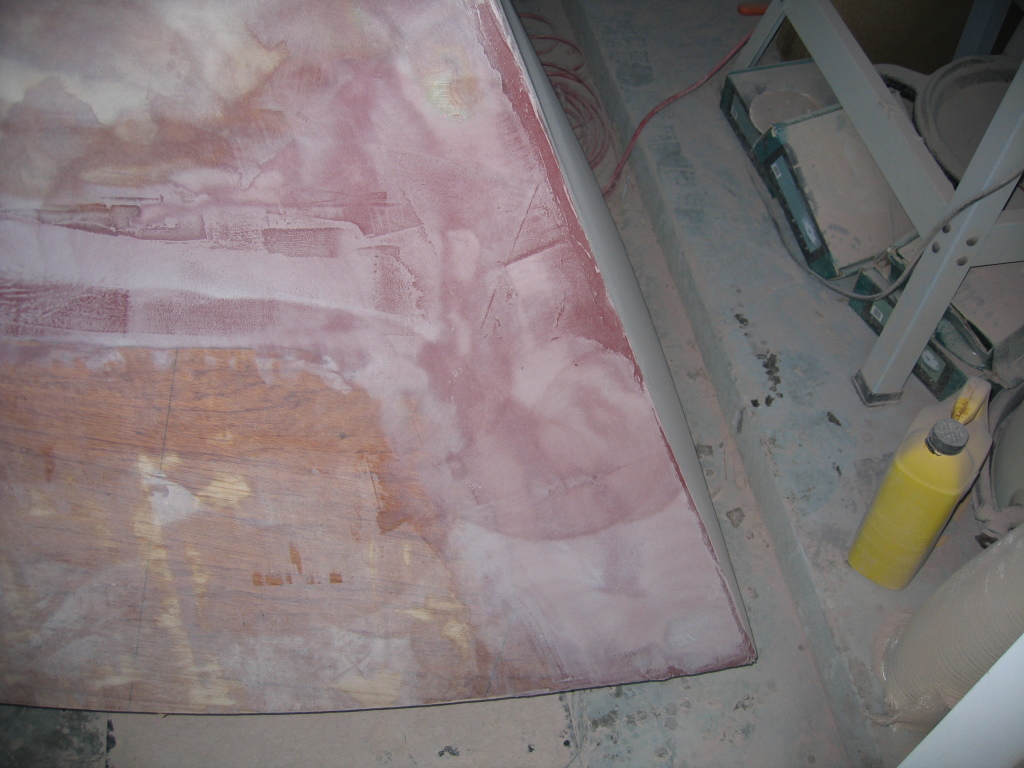
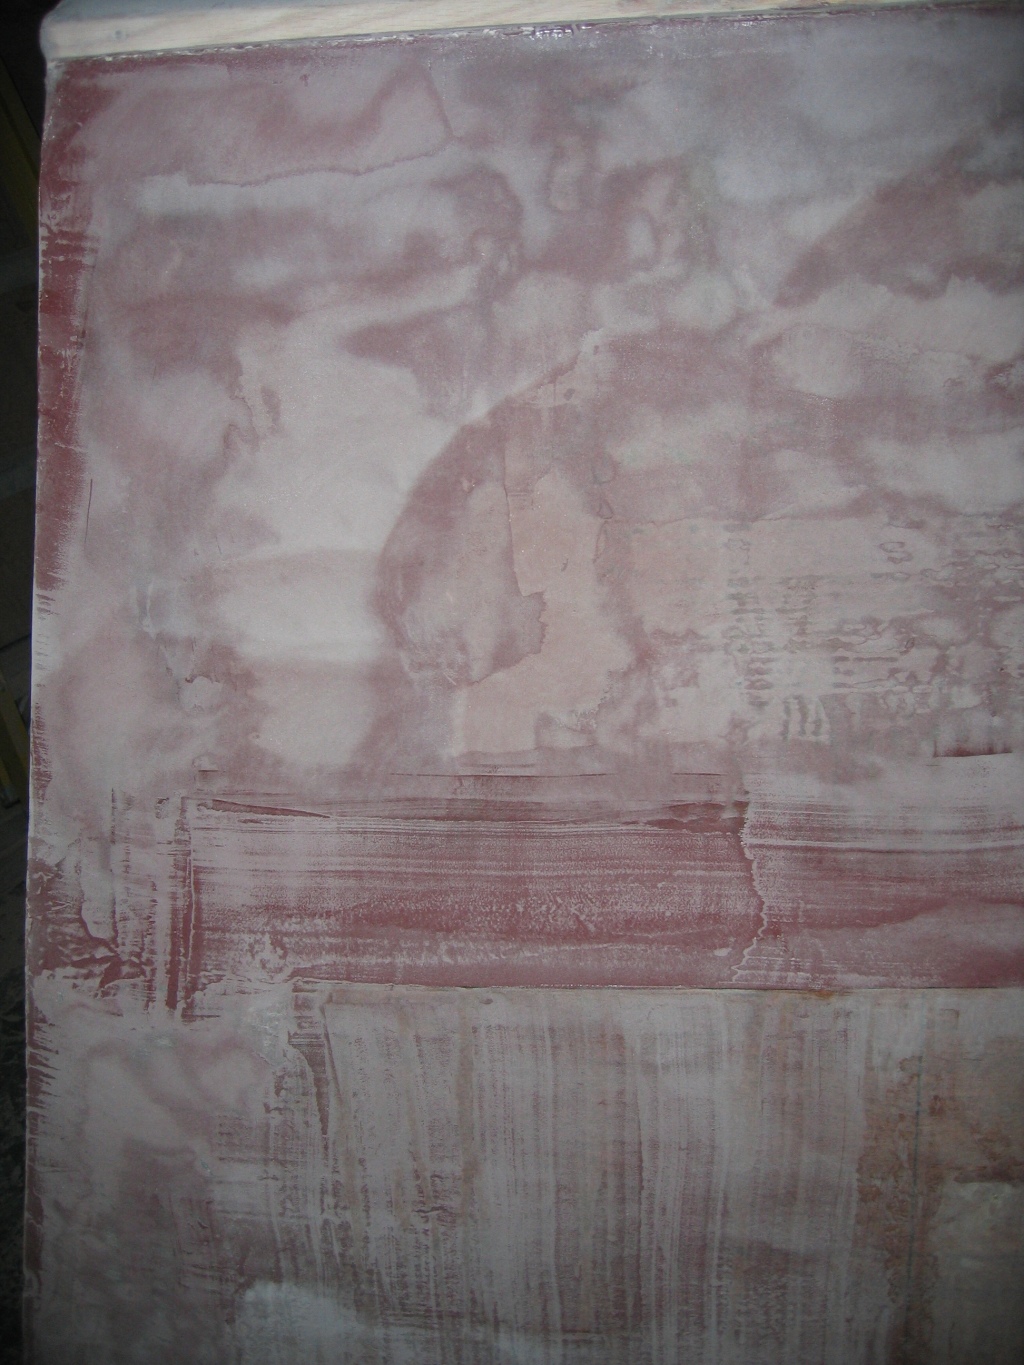
| September 19, 2005. I sanded everywhere that was necessary from the previous application of fairing compound. Here is a look at how the bow is shaping up. The darker areas are low and need to be built up, but after this, the bow will be just about done. | Here is a view of the hull side, this is after the 2nd layer of fairing compound. The dark areas will be built up and I'll go through another round of sanding. The opposite side took about 3 total layers before it was sanding smooth (no low spots). | Near the stern I have applied 2 layers, but just up from there only 1 layer. There is a very clear difference that can be seen due to the number of layers. | |||||||||||||||||||||||||||||||||||||||||||||||||||||||||||||||||||||||||||||||||||||||||||||||||
 |
 |
 |
|||||||||||||||||||||||||||||||||||||||||||||||||||||||||||||||||||||||||||||||||||||||||||||||||
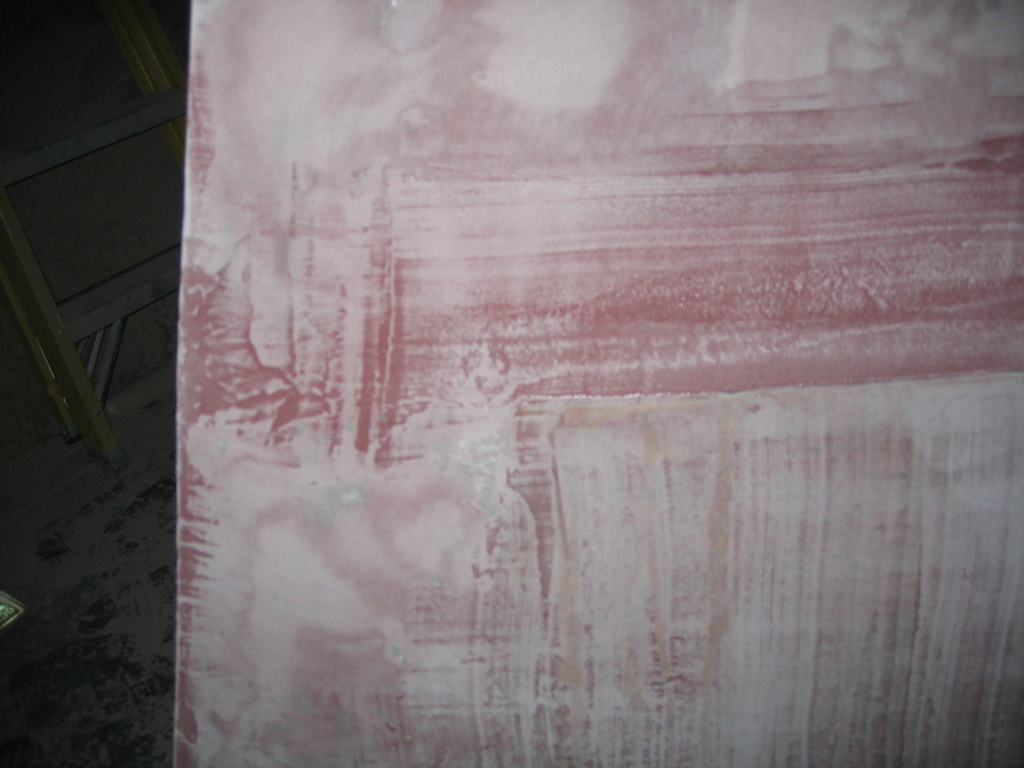
| Another shot of the transom/side edge. | Compare this photo to this. The only difference is sanding. It is obvious that a few more rounds of fairing are needed, but it is a lot closer than it looks. | This picture clearly shows the area with only 1 layer of fairing compound applied. | |||||||||||||||||||||||||||||||||||||||||||||||||||||||||||||||||||||||||||||||||||||||||||||||||
 |
|||||||||||||||||||||||||||||||||||||||||||||||||||||||||||||||||||||||||||||||||||||||||||||||||||
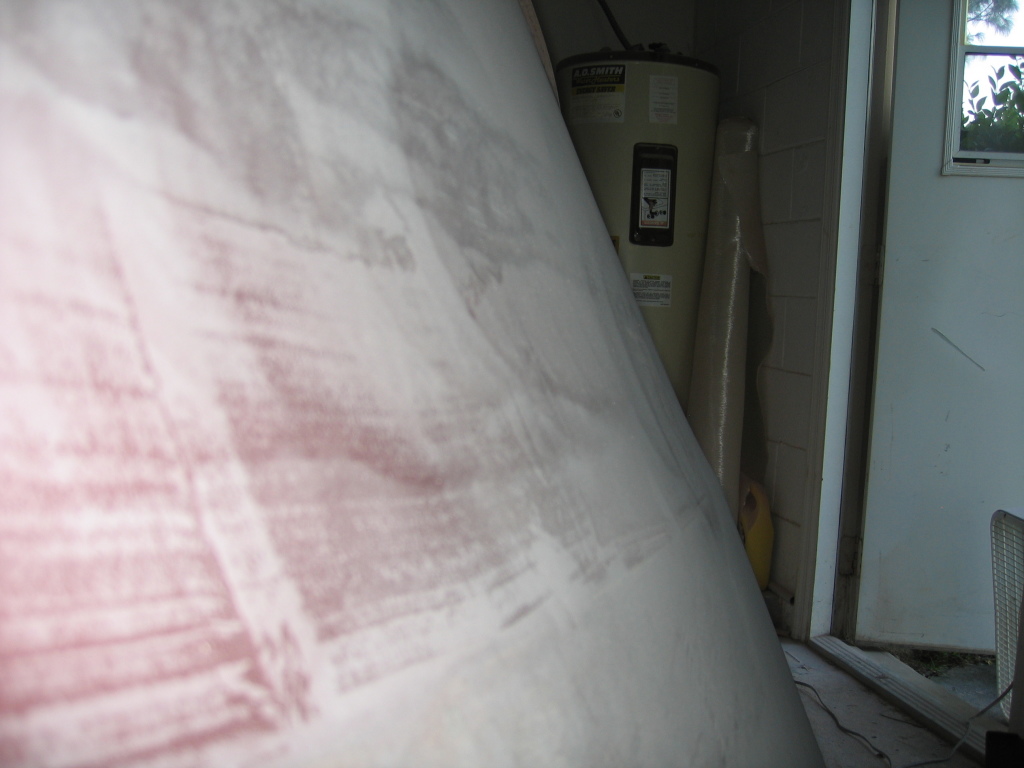
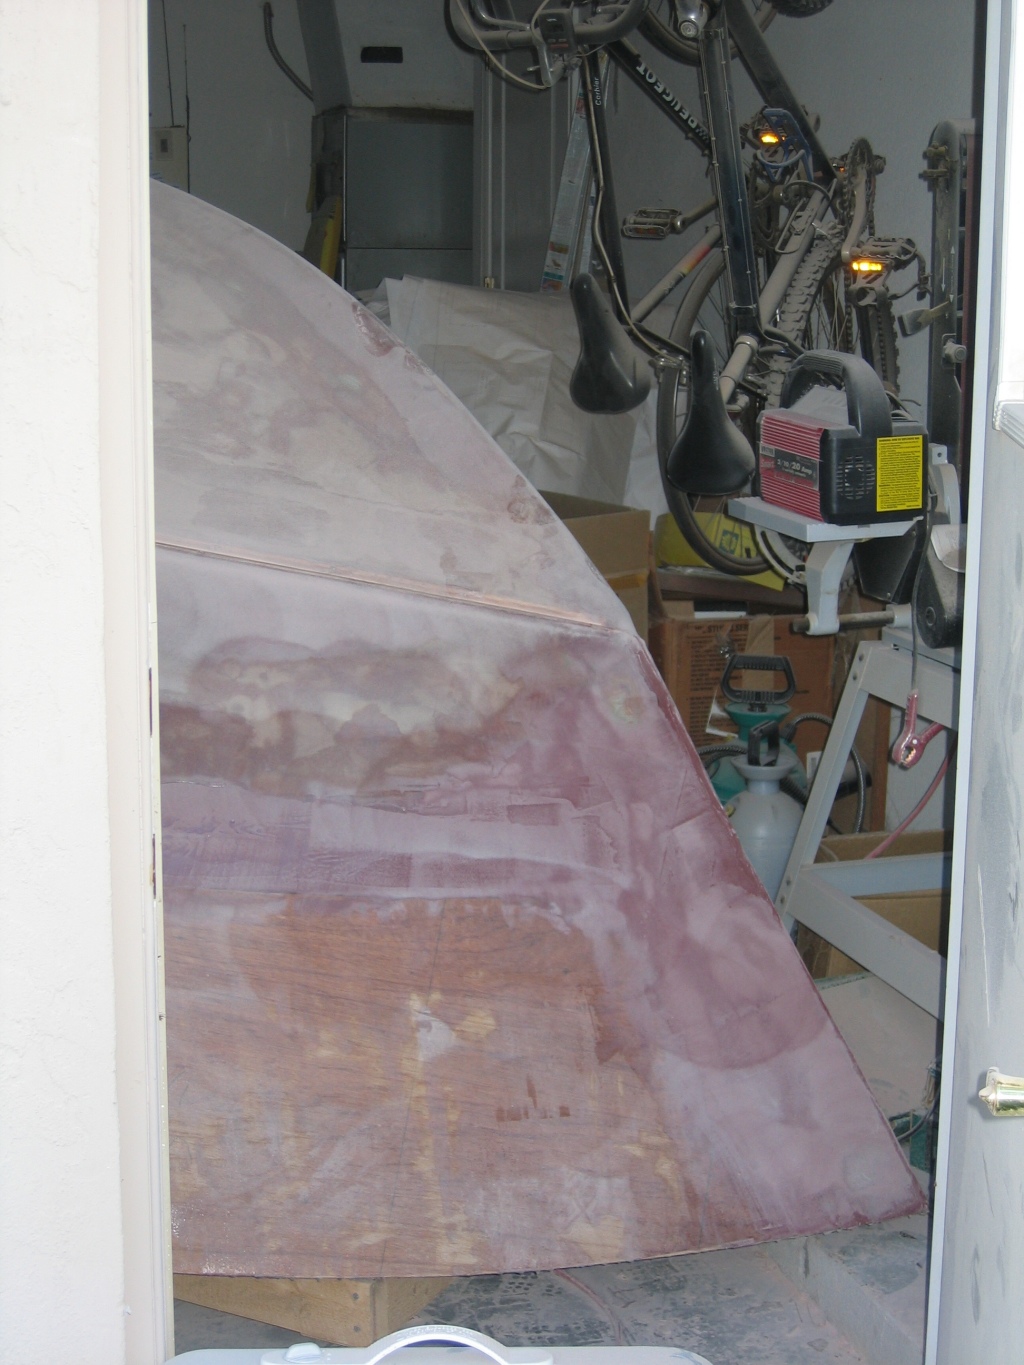
| I stood outside the garage side door and took this picture of the bow. | |||||||||||||||||||||||||||||||||||||||||||||||||||||||||||||||||||||||||||||||||||||||||||||||||||
|
|
|||||||||||||||||||||||||||||||||||||||||||||||||||||||||||||||||||||||||||||||||||||||||||||||||||
Copyright© 2004 - 2005 by Michael D'Amour. All rights reserved.