|
|
|||||||||||||||||||||||||||||||||||||||||||||||||||||||||||||||||||||||||||||||||||||||||||||||||||
 |
 |
 |
|||||||||||||||||||||||||||||||||||||||||||||||||||||||||||||||||||||||||||||||||||||||||||||||||
| I spent some time preparing for fiberglassing the inside. First I had to remove the stringers and frames. Next I cleaned up any excess cured putty that shot through the holes from the stiches, and then I vaccuumed the mess. | Since the keel at the bow is fairly tight I filleted that area with putty giving a nice easy radius for glassing. Here is the keel with 1 layer of biaxial glass tape. | The keel taping is now complete with all 3 layers down. I did the final 2 layers together, saving time, epoxy, and weight. All 3 layers applied "wet on wet". | |||||||||||||||||||||||||||||||||||||||||||||||||||||||||||||||||||||||||||||||||||||||||||||||||
 |
 |
 |
|||||||||||||||||||||||||||||||||||||||||||||||||||||||||||||||||||||||||||||||||||||||||||||||||
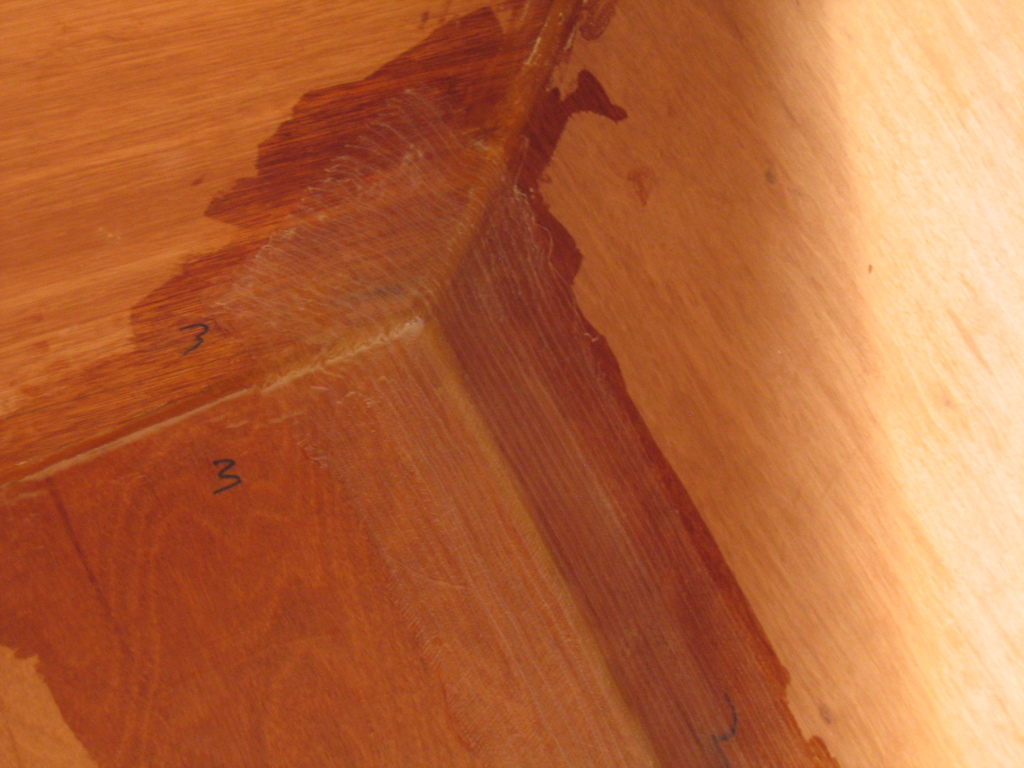
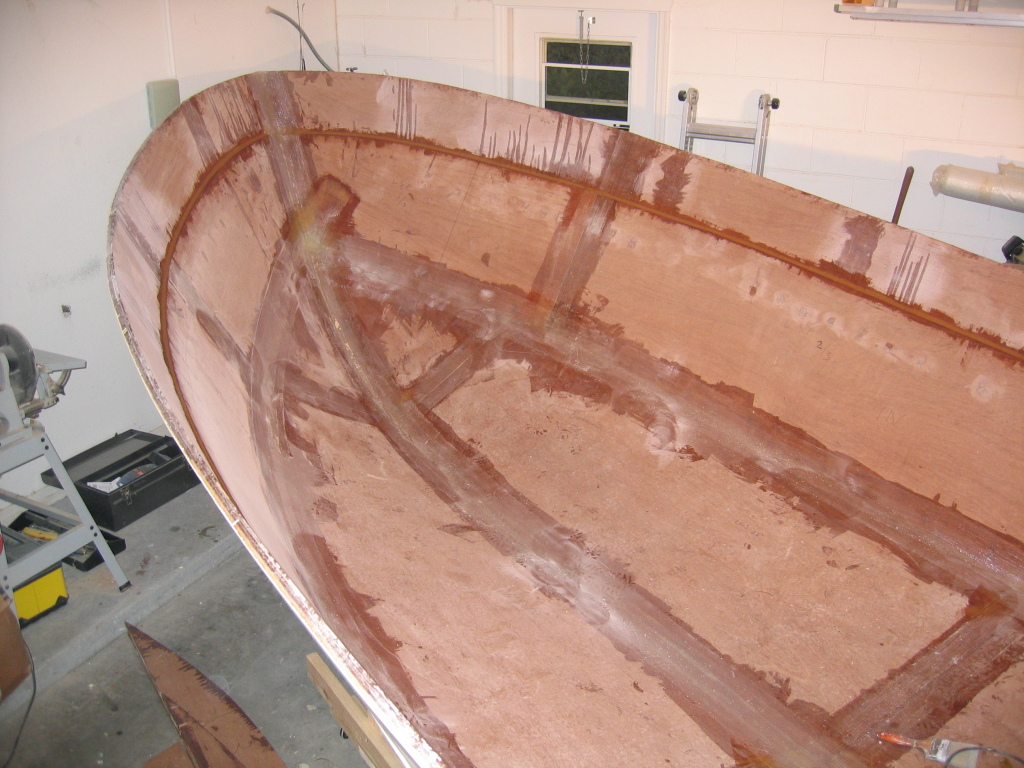
| The next day I filleted the starboard side and applied 2 layers of tape to the chine. | Here we see the inside of the hull with the keel and chines taped. | This is a picture of the port chine where it mates with the transom. This picture shows the fillet radius and clean glassing over the seam. There are no visible air bubbles. | |||||||||||||||||||||||||||||||||||||||||||||||||||||||||||||||||||||||||||||||||||||||||||||||||
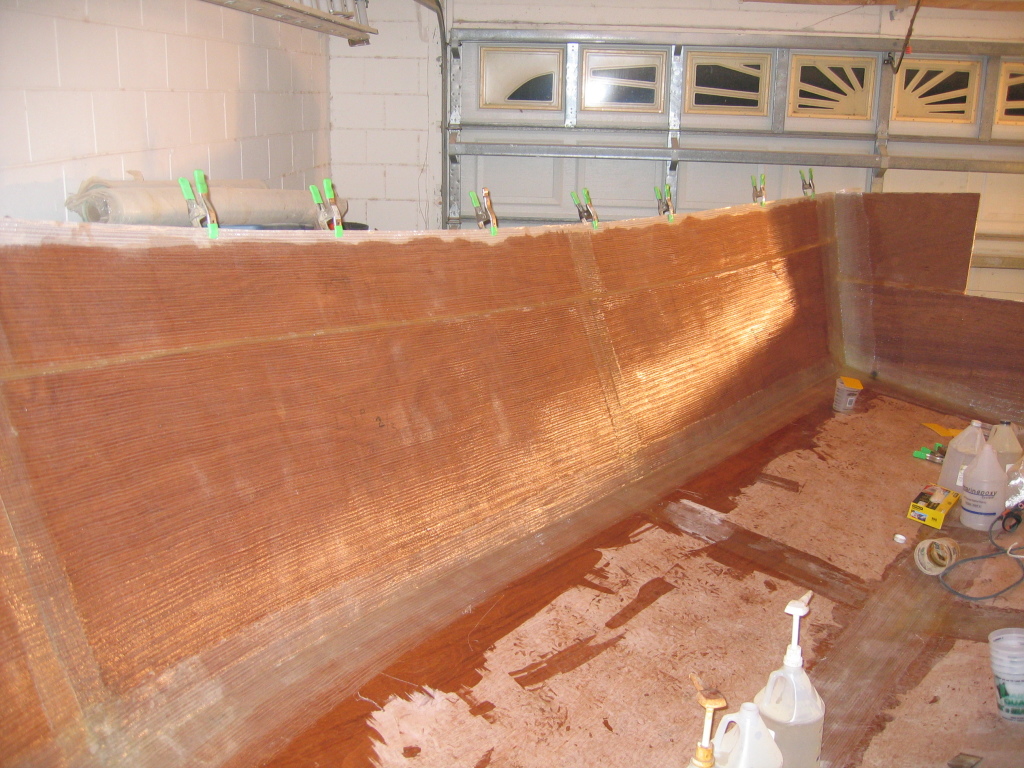
| Now I'm taping the transom sides with 3 layers of 12 oz biaxial tape. While the previous layer is still wet the next layer is easily hung in place. | The final layer is now wetted out with epoxy. Both sides of the transom are now taped. | Finally, the inside of the transom bottom is taped. | |||||||||||||||||||||||||||||||||||||||||||||||||||||||||||||||||||||||||||||||||||||||||||||||||
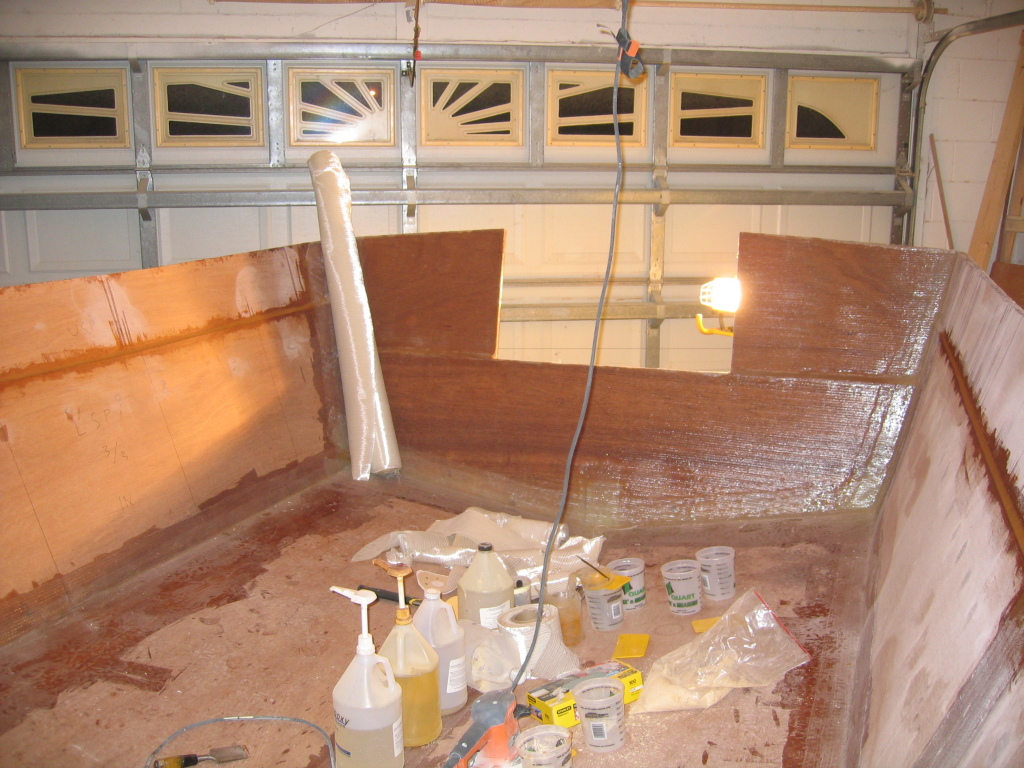
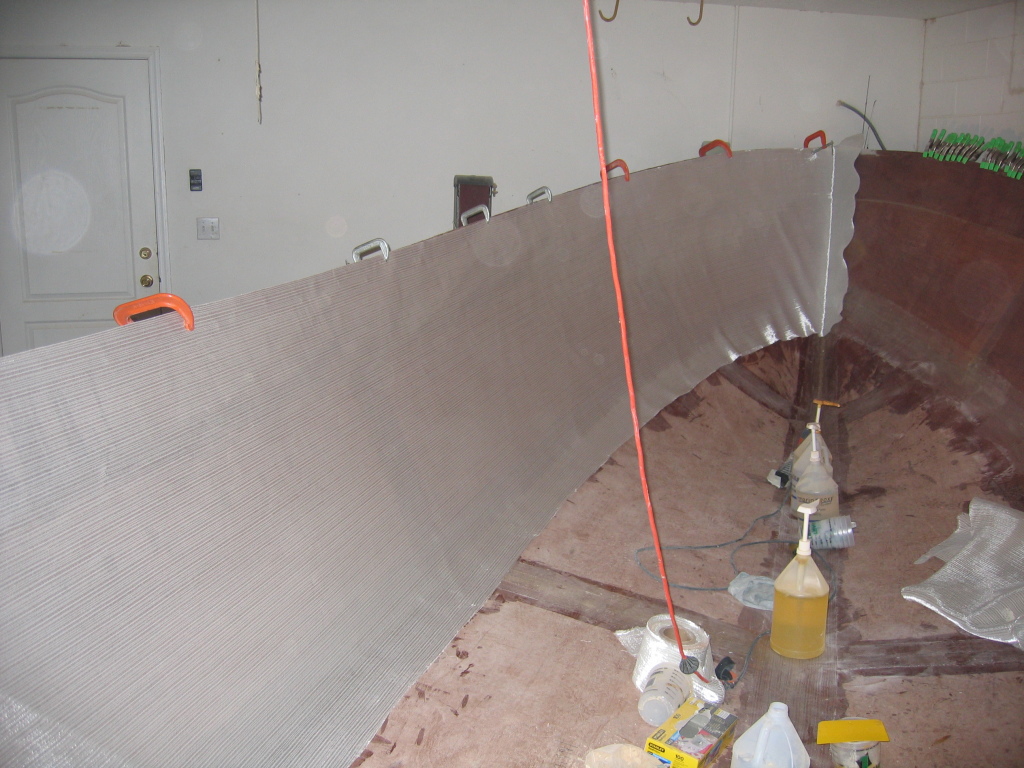
| In preparation for glassing the inside of the transom I cut a large sheet of fiberglass (foreground) with enough excess to overlap the hull sides. I precoated the transom with epoxy and waited for it to get slightly tacky to I could easily hang the fiberglass in position. | The transom glass is now in position. | I have now wetted out the transom fiberglass. When the epoxy cures I'll be able to easily cut the fabric between the transom sides. | |||||||||||||||||||||||||||||||||||||||||||||||||||||||||||||||||||||||||||||||||||||||||||||||||
 |
 |
||||||||||||||||||||||||||||||||||||||||||||||||||||||||||||||||||||||||||||||||||||||||||||||||||
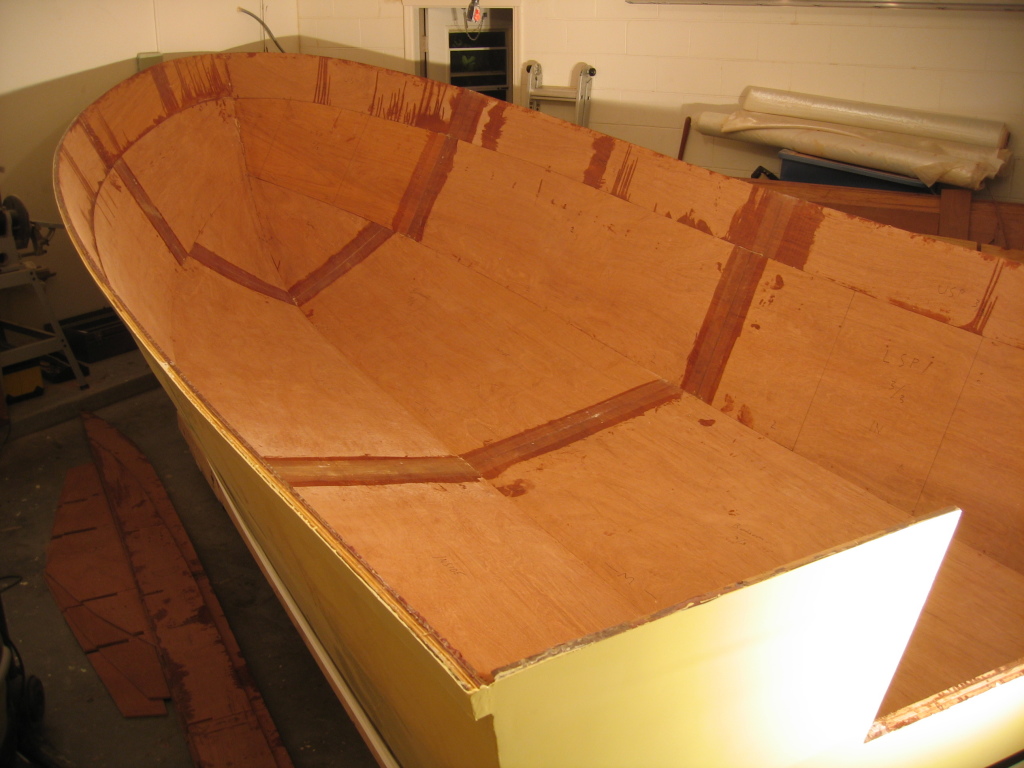
| The epoxy has now cured and I cut away the glass around the transom. | I decided to fillet the inside of the styleline so that it could be easily glassed over. It is not necessary to glass above the styleline, but I figured it actually ends up allowing me to use the full height of the big rolls of fiberglass. | Had I chosen to glass up to the styleline I would have had to trim the fiberglass (for a nice 6" chine overlap). I'll still have at least 6" of overlap without having to trim the glass. A little extra strength won't hurt anything. | |||||||||||||||||||||||||||||||||||||||||||||||||||||||||||||||||||||||||||||||||||||||||||||||||
 |
 |
||||||||||||||||||||||||||||||||||||||||||||||||||||||||||||||||||||||||||||||||||||||||||||||||||
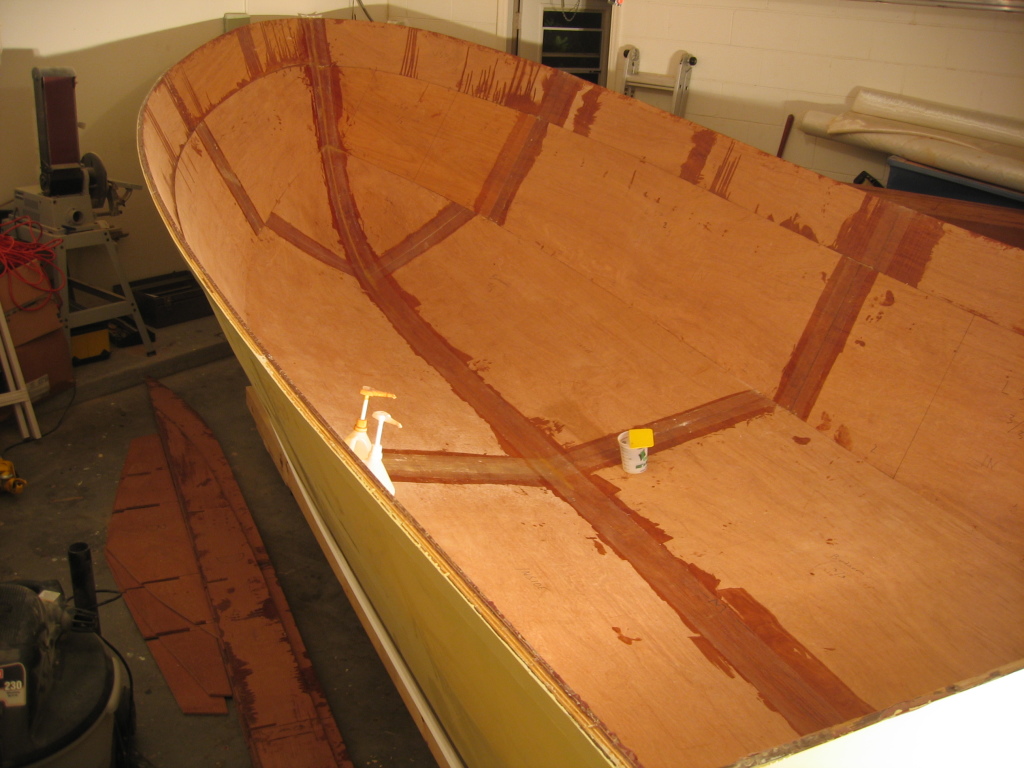
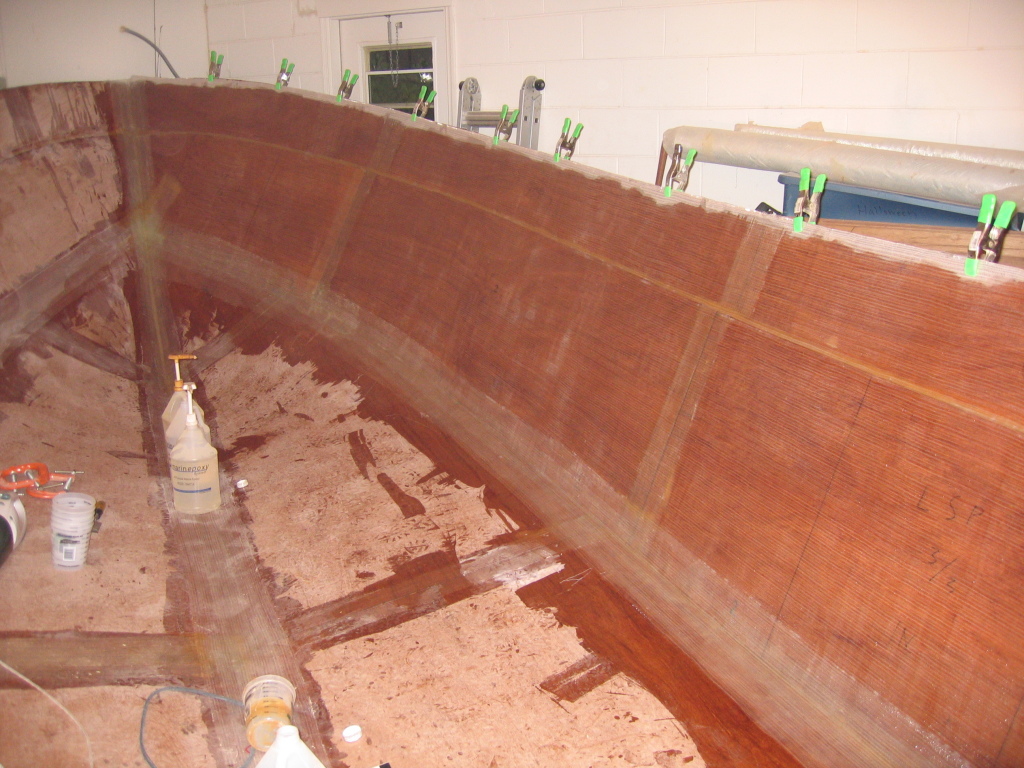
| One more look at the transom glassing. | The inside lamination has begun, one full layer with 6" overlaps at chines and keel. | Another view of the starboard lamination. | |||||||||||||||||||||||||||||||||||||||||||||||||||||||||||||||||||||||||||||||||||||||||||||||||
 |
 |
 |
|||||||||||||||||||||||||||||||||||||||||||||||||||||||||||||||||||||||||||||||||||||||||||||||||
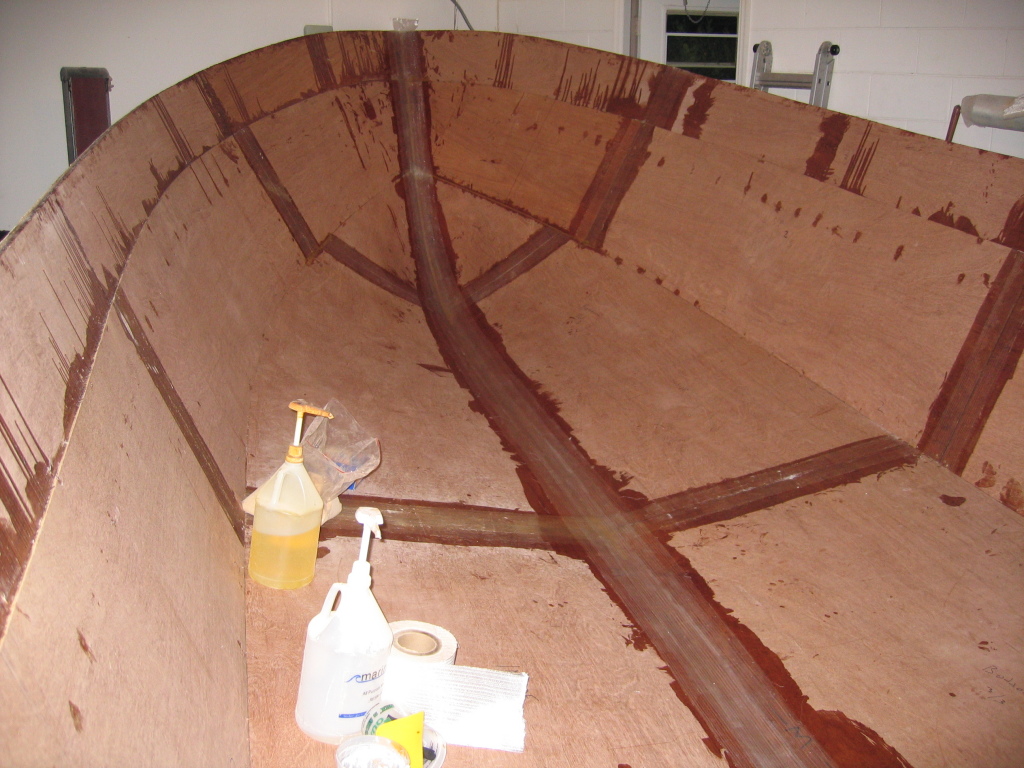
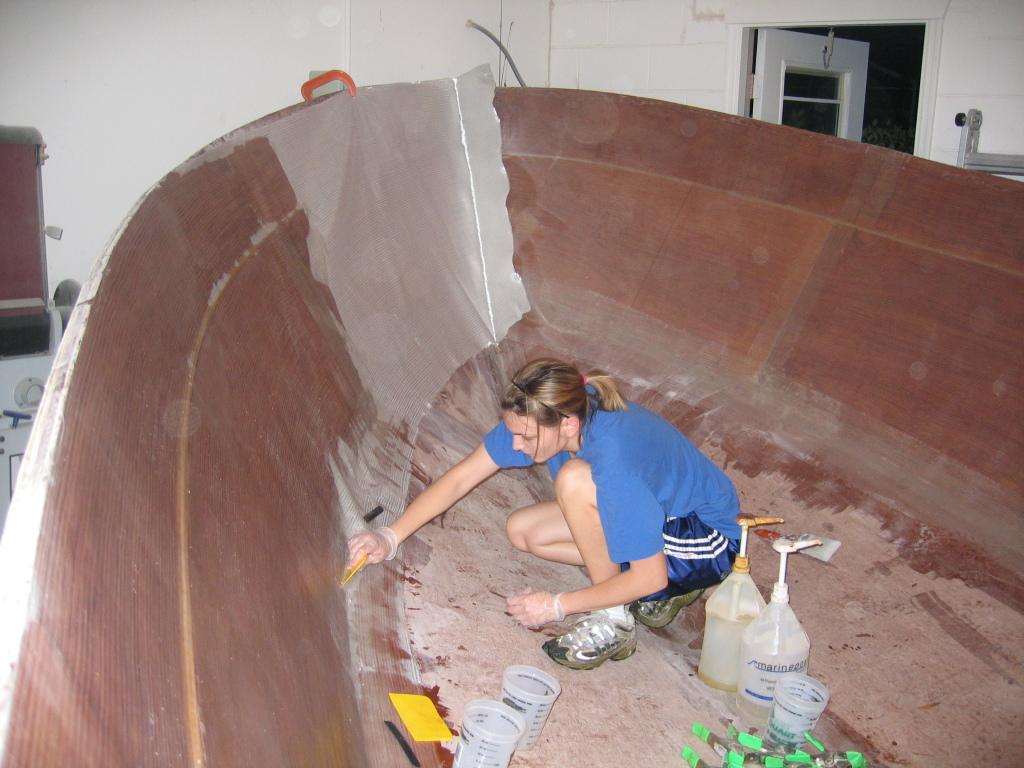
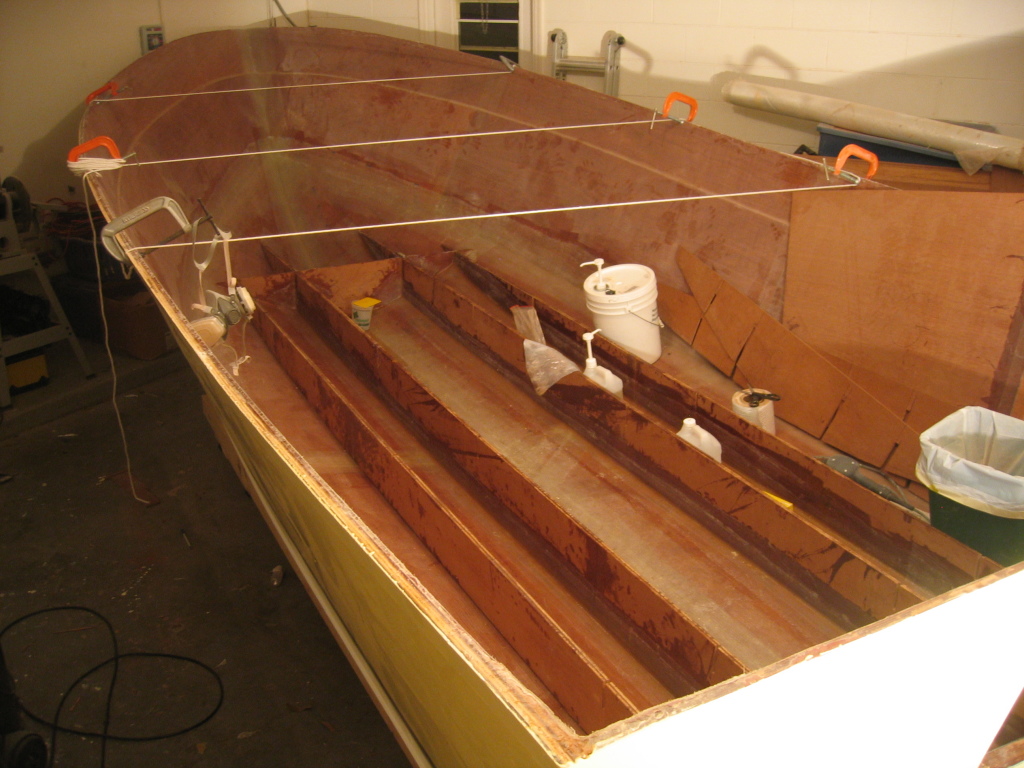
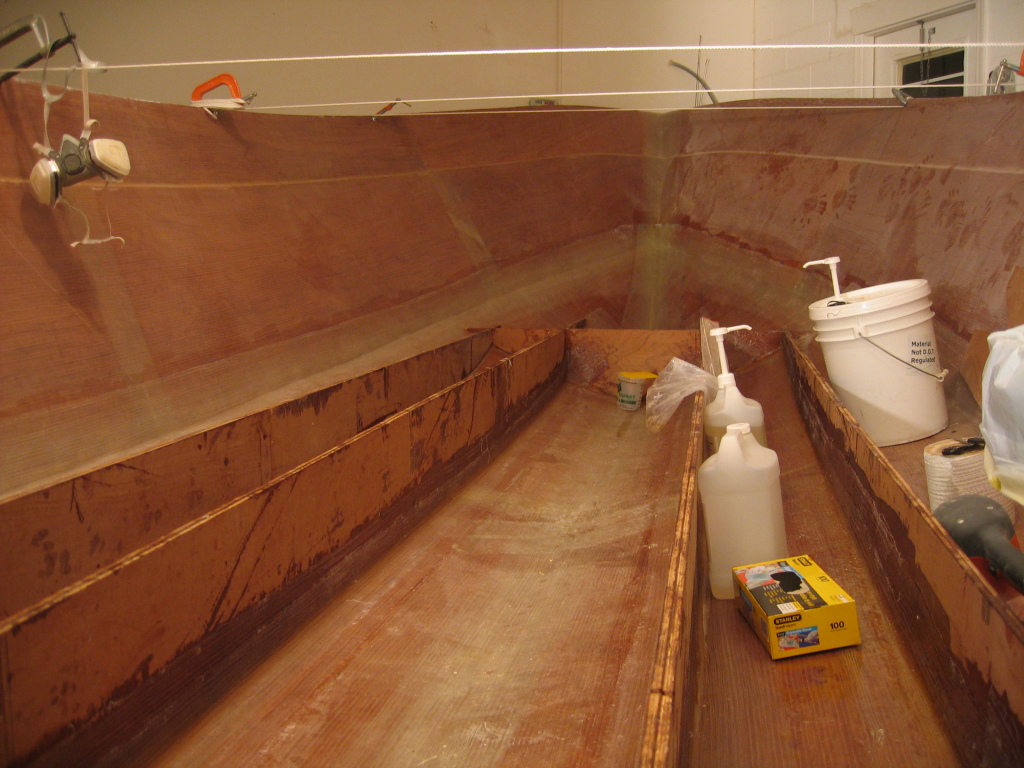
| The glass is hung and has been trimmed to fit the shape of the hull and to provide enough overlap. | Here is Kathy helping with the fiberglassing. | Some time has passed now.. The entire inside has been laminated and I have almost finished tabbing the stringers (3 of 4). I've got rope pulling the hull together to match its final shape so the hull bottom matches up against the bottom of the strings. | |||||||||||||||||||||||||||||||||||||||||||||||||||||||||||||||||||||||||||||||||||||||||||||||||
 |
 |
 |
|||||||||||||||||||||||||||||||||||||||||||||||||||||||||||||||||||||||||||||||||||||||||||||||||
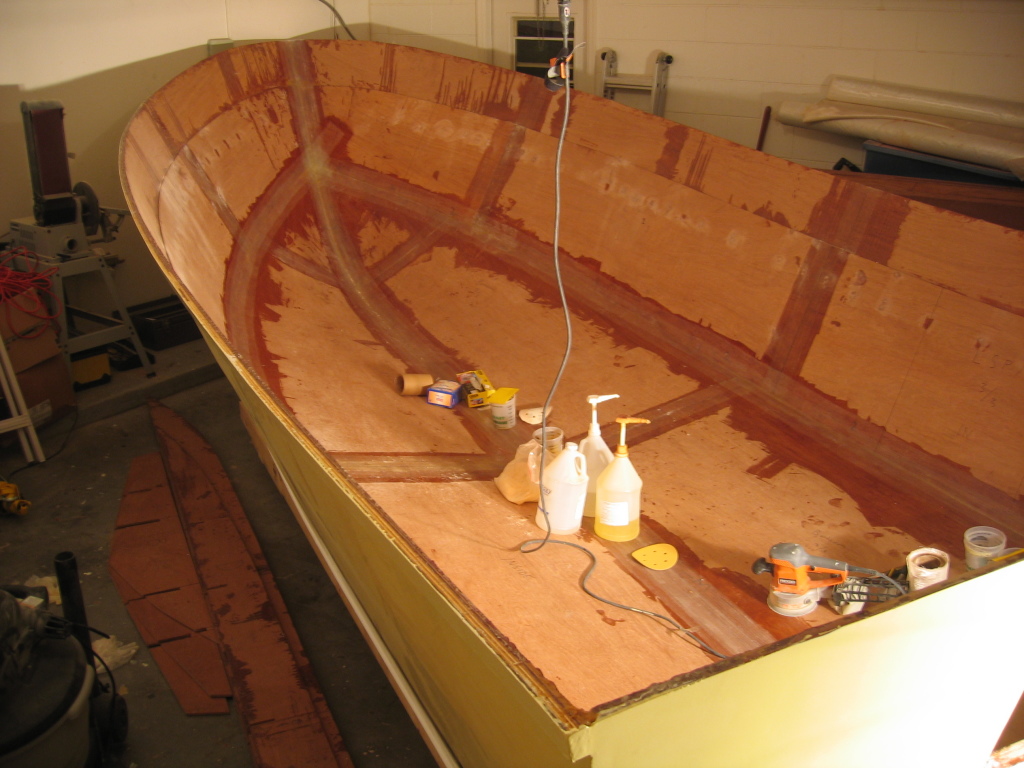
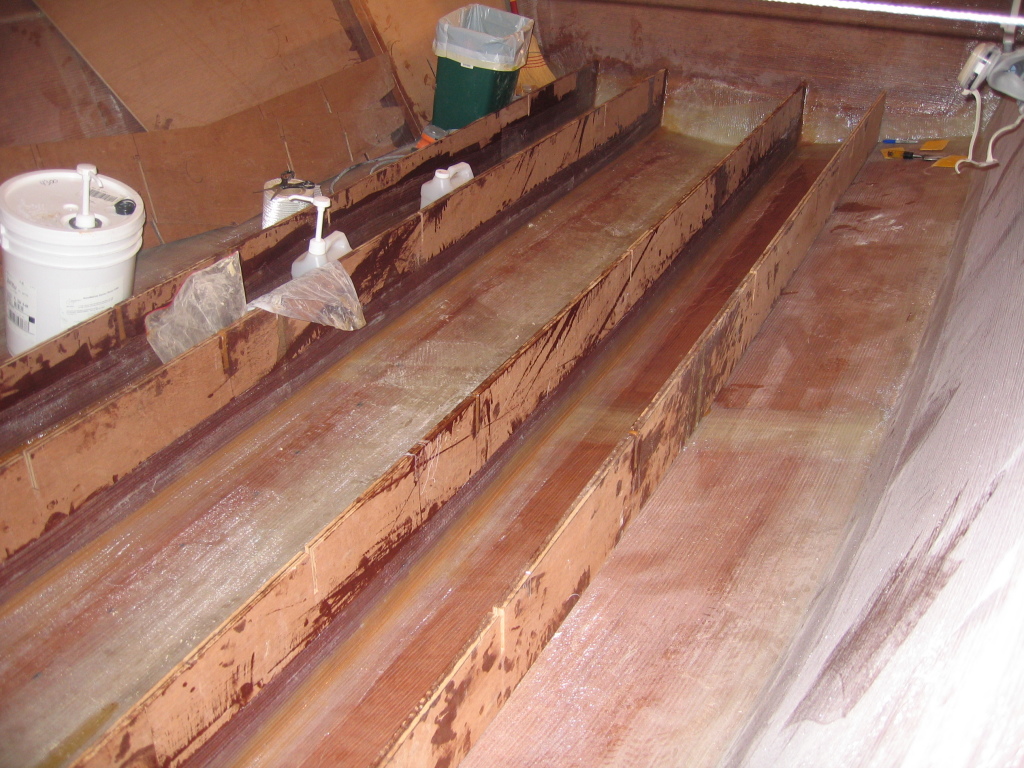
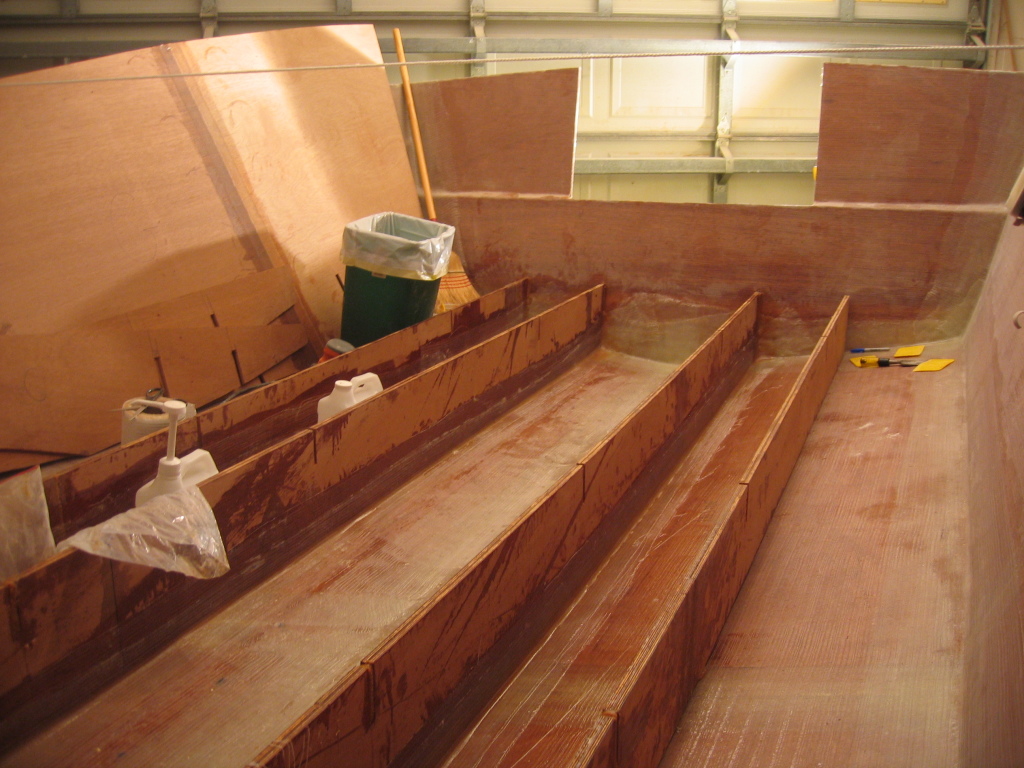
| After each stringer has been glassed in it is amazing how much more rigid they are and the hull is becoming. | The addition of the frames will add even more strength (an unbelievable amount). | Here's a view looking towards the stern showing the stringer tabbing. There are 2 layers of overlapping 6" biaxial tape on each side of the stringers. The stringers are glued to the hull with a mix of epoxy, silica and wood flour. | |||||||||||||||||||||||||||||||||||||||||||||||||||||||||||||||||||||||||||||||||||||||||||||||||
|
|
|||||||||||||||||||||||||||||||||||||||||||||||||||||||||||||||||||||||||||||||||||||||||||||||||||
Copyright© 2004 - 2007 by Michael D'Amour. All rights reserved.