 |
 |
 |
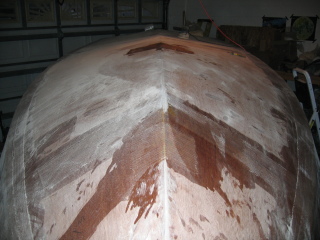
| All but 2 stitches are removed on the entire boat. | More holes and seams are filled in where the ties used to be. | A view from the bow showing the keel nearly ready to be taped. |
 |
||
| I tabbed the transom so that I can remove the drywall screws holding it to the stringer ends. | Closeup of my fiberglass tabbing on the transom. | Finally, all of the stitches are removed from the hull! |
 |
||
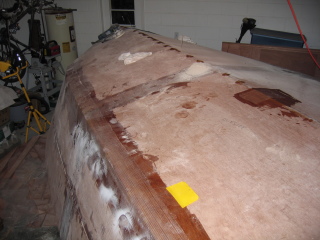
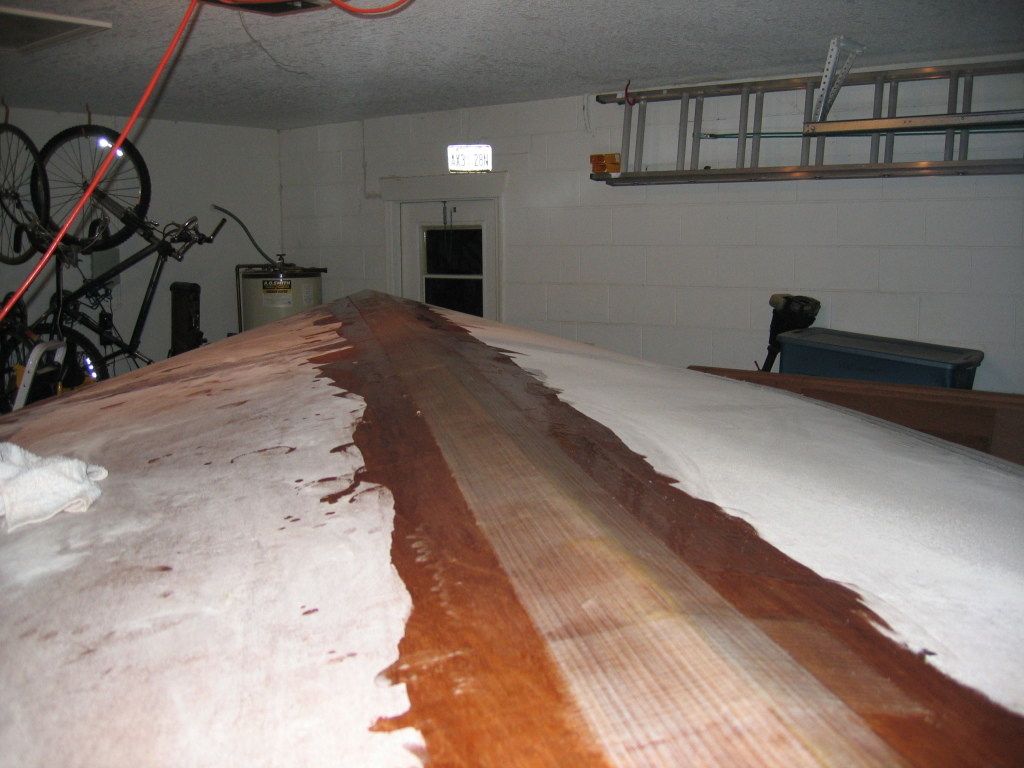
| The transom is just about done with the putty and sanding. | The edges are sanded so they are fairly round to make it easy to fiberglass. | The first layer of tape is applied to the keel. The tape appears much more clear (wet) in person, the camera (flash?) seems to capture the fiberglass much lighter than it looks. |
 |
 |
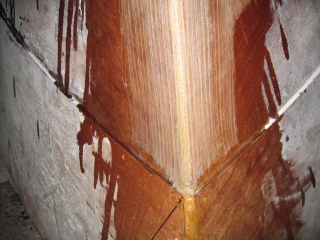 |
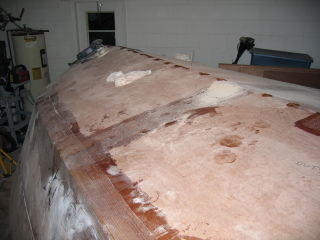
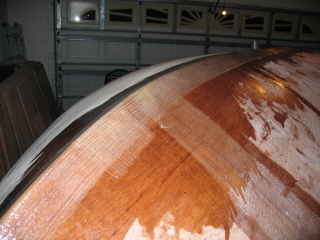
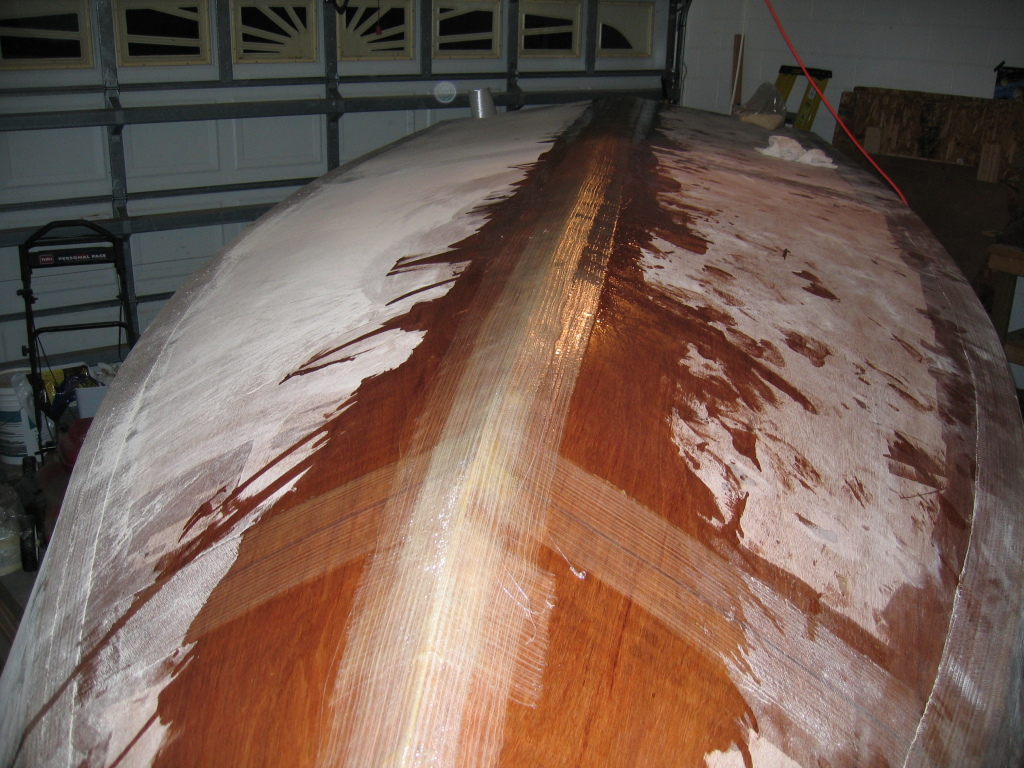
| A view of the keel as it begins to curve to form the bow, still with 1 layer of tape. | The bottom with 2 layers of biaxial tape along the keel. | Here is the bow where the upper and lower side panels meet, shown with the two layers of tape. |
| The entire inside of the boat where the transom meets the hull is built up with putty fillets. The fillets are shaped with a radius to make later fiberglassing easy to do. I'll have to do some sanding to get them perfect, but it is good enough for working upside down in tight conditions. I won't have to think about them again until the hull is flipped. | When the transom was mounted it was temporarily attached to the stringers with long drywall screws. Now that I have fillets and fiberglass tabs holding it I have been removing the screws so that I can fiberglass the transom seams. The plans call for 2 layers of tape on the outside, but an update to the plans for mounting larger engines calls for 1 more layer on the outside. This is not very much tape, and I haven't decided on an engine yet, so I will be doing 3 layers. | The USP is glassed to the transom with 2 layers of fiberglass. The remaining edges of the transom that are not yet taped will be done with 3 layers as described previously. |
| The transom is taped with 2 layers of biaxial fiberglass. | This shows the transom as seen from the back with fiberglass curing. | A closeup view of the fiberglassing of the transom and the keel. |
 |
||
| I took a picture of the inside of the bow, this should give some idea of how things are put together. | Here is a view of the entire boat after the 3rd and final layer of biaxial fiberglass tape was put on the transom. This is using a wide angle lens, the only way I could capture the whole picture, the boat is much larger than it looks. | Another wide angle view showing the entire boat. |
Copyright© 2004 - 2005 by Michael D'Amour. All rights reserved.